







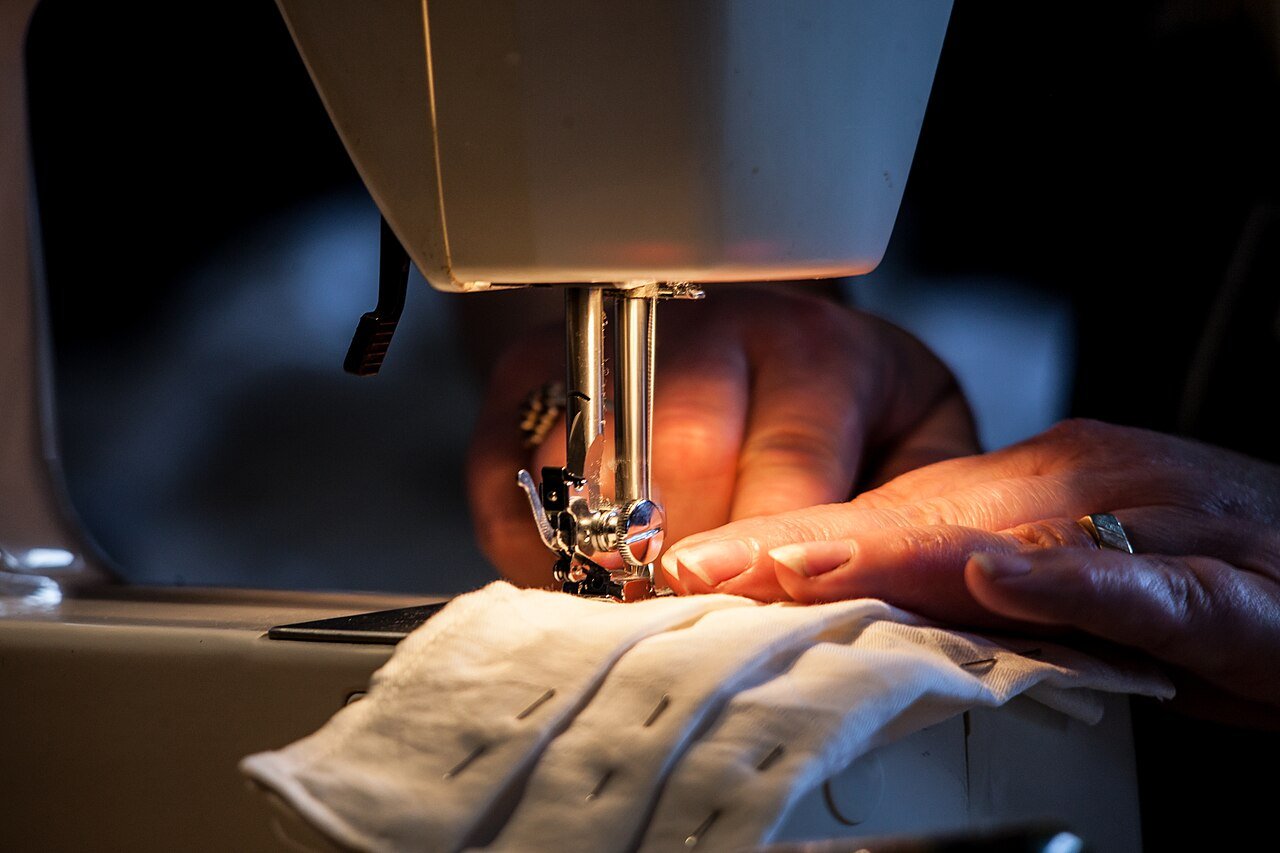
A sewing machine can look intimidating. All those dials, the needle moving faster than your eyes can follow, the vague memory of someone’s grandmother making it look effortless while you are fairly sure you would sew your own fingers together. Here is the good news: threading a machine and sewing a straight line are genuinely learnable in a single afternoon, and from there, the path to real, finished projects is shorter than you think.
This is a week-by-week learning path — the kind a well-structured beginner sewing course follows — that takes you from “I just unboxed this thing” to stitching projects you will actually use. No talent required. Just a machine, some inexpensive fabric, and a little patience with yourself.
Before week one: set yourself up to succeed
Most sewing frustration is not about skill — it is about setup. Before your first lesson:
- The machine. You do not need a computerized marvel. A basic mechanical machine from a reputable brand (think Brother, Singer, Janome at the entry level) handles everything in this plan. If you inherited one, get it serviced — a $50 tune-up saves weeks of mysterious tension problems.
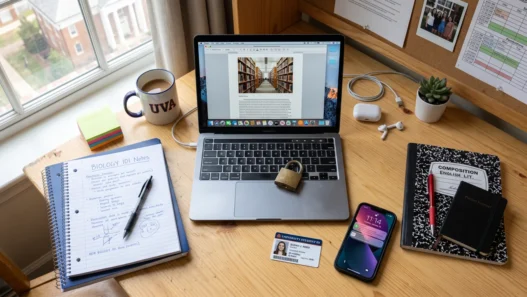
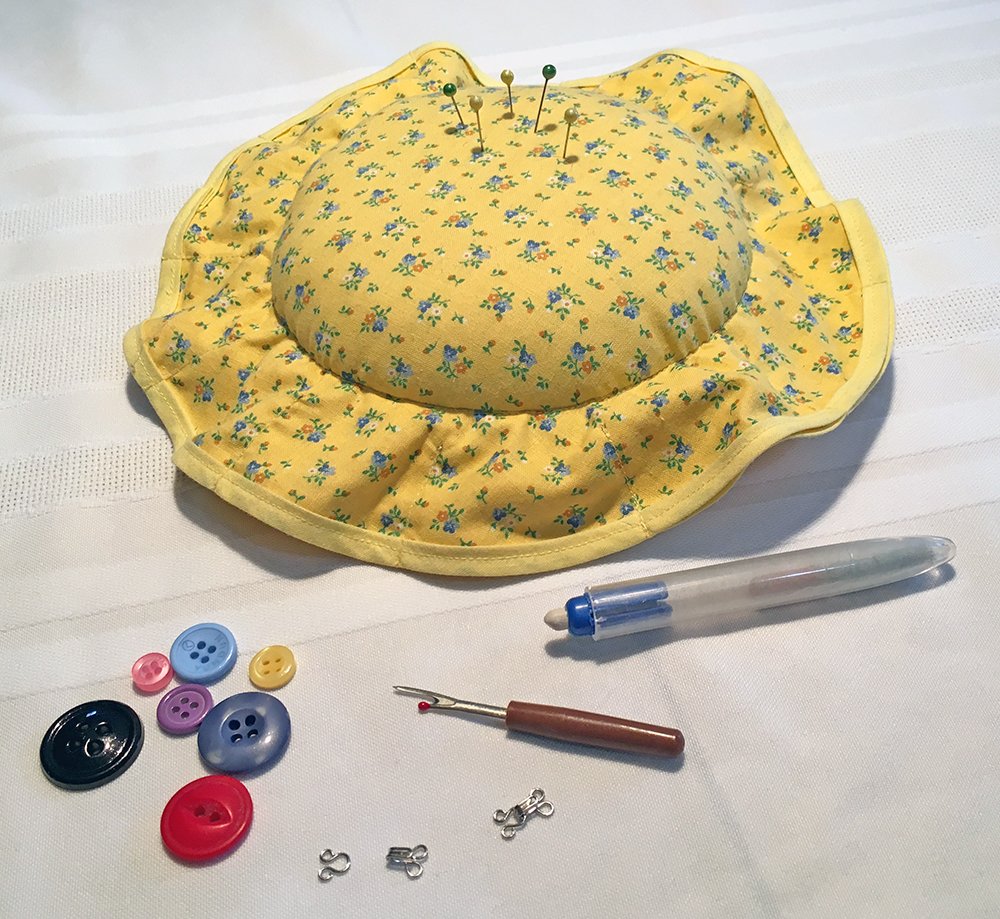
- The notions. Sharp fabric scissors (never paper — this rule is sacred), pins and a pincushion, a seam ripper (your new best friend), measuring tape, tailor’s chalk or a fabric marker, and an iron with an ironing board. Pressing seams as you go is half of what makes sewing look professional. Our look at setting up a home study space on a budget has ideas that work just as well for a sewing corner.
- Fabric for practice. Buy inexpensive quilting cotton in light colors. Dark or slippery fabrics (satin, chiffon) are advanced-level adversaries — save them for later.
- Light and space. You need good light on the needle area and a table at a comfortable height. Kitchen tables work fine to start.
Week 1: Meet your machine 🤝
Goal: thread the machine confidently and sew controlled lines.
Day one is all about the machine itself: winding a bobbin, threading the top thread, drawing up the bobbin thread. It will feel fiddly. Everyone rewinds the tutorial three times. That is normal — it is a motor skill, and motor skills need repetition, not genius.
Your first sewing should not be a project at all. Take paper (plain printer paper, no thread needed) and practice:
- Sewing along straight lines drawn on the paper
- Following gentle curves
- Pivoting at corners with the needle down
- Backstitching at the start and end of a line
Then move to fabric scraps and sew straight seams. Learn to guide the fabric without pushing or pulling it — the machine feeds; you steer. This single insight fixes most beginner wobbles.
Week 2: Seams, hems, and your first real finishes
Goal: sew two pieces of fabric together neatly and finish the edges.
This week you learn the vocabulary of construction: seam allowance (usually ⅝ inch in patterns, ¼ inch in quilting — and yes, it matters), pressing seams open, and finishing raw edges so they do not fray. A zigzag stitch or pinking shears handle edge finishing on a basic machine; no serger required.
Your milestone project: a simple pillowcase or tote bag. Rectangles only, straight seams, instantly useful. When you finish it, press it properly and look at what you made — that flat, crisp result is the difference pressing makes, and it is a skill worth building from day two. If motivation dips (it does for everyone around week two), building a learning habit that sticks has practical fixes.
Week 3: Curves, corners, and your first garment-ish project
Goal: handle shaped pieces and follow a simple pattern.
Curves are just straight lines taken slowly — reduce your speed, take smaller bites, and clip curves before turning them right-side out. This week introduces:
- Clipping and notching curved seams
- Topstitching (the visible stitching that makes things look finished)
- Inserting elastic into a casing
Milestone project: an elastic-waist skirt or pajama pants. These sound ambitious and are secretly beginner-friendly: forgiving fit, no zippers, no buttons. Wearing something you sewed yourself changes your relationship with the craft — suddenly it is not practice anymore.
Week 4: Reading a pattern without fear 📄
Goal: decode a commercial pattern envelope and cut fabric accurately.
Patterns intimidate beginners because of the tissue paper covered in cryptic symbols. A good course demystifies it in one lesson: grainline, notches, cutting layouts, and which lines are your size. The key skills this week are measuring yourself honestly and cutting precisely — sewing is woodworking with fabric; measure twice, cut once.
Milestone project: a simple A-line skirt or boxy top from a beginner-rated pattern (look for patterns explicitly marked “easy” or “learn to sew”). Choose one size, make no fitting adjustments yet, and focus on clean construction.
Weeks 5–8: Building your repertoire
With the foundations in place, each week adds one new technique and one project that uses it:
- Week 5 — Zippers. Install a centered zipper in a cushion cover. Zippers are 90% preparation (basting, pressing) and 10% sewing.
- Week 6 — Buttonholes. Most machines sew them semi-automatically now. Practice on scraps, then make a shirt-style pillow sham.
- Week 7 — Knit fabrics. A ballpoint needle and a zigzag stitch open up T-shirts and leggings. Knits behave differently — do not skip the practice swatches.
- Week 8 — Your choice project. Revisit the technique you found hardest and make something you actually want. This is where sewing shifts from course exercises to your craft.
Eight weeks will not make you a tailor, but they will make you someone who can look at a simple garment and think “I could make that” — and be right. For choosing what to learn next, how to choose your next course wisely keeps you from collecting tutorials you never finish.
Common beginner mistakes (and the fixes)
Every sewing teacher sees the same handful of issues. Knowing them in advance saves you hours:
- Skipping the press. “I’ll press it at the end” produces lumpy, homemade-looking results. Press every seam as you sew it. The iron is as important as the machine.
- Wrong needle, wrong thread. Universal needles and all-purpose thread handle most beginner projects. Denim needles for jeans, ballpoint for knits — match the needle to the fabric and half your “machine problems” disappear.
- Sewing too fast. Speed feels like progress; control is progress. Slow down until your lines are even, then speed up gradually.
- Pulling the fabric. Let the feed dogs do their job. Pushing or pulling bends needles and stretches seams.
- Starting with the “dream project.” The tailored blazer can wait. Each skipped fundamental shows up later as a mysterious failure in the advanced project.
- Never using the seam ripper. Unpicking is not failure — it is editing. Professionals rip seams regularly; beginners should do it cheerfully. Our guide to learning pottery at home makes the same point about embracing the wobbly first attempts.
How to pick a sewing course that gets you stitching fast
- Project-based, from lesson one. If the first three hours are all theory, keep looking. You should be sewing something — anything — in the first session.
- Close-up machine demonstrations. Threading and bobbin work must be shown clearly, ideally from multiple angles.
- A logical project ladder. Straight seams → curves → zippers → garments. Each project should use the previous week’s skills.
- Troubleshooting library. Bird’s-nest tangles underneath, skipped stitches, broken thread — a good course has a “what went wrong” section you will visit often.
- Honest about fitting. Beginner courses should not promise couture fitting; they should promise solid construction and point you to fitting resources for later.
And if the inner critic gets loud — “everyone else finds this easy” (they do not) — dealing with imposter syndrome as a beginner is worth a read. Every sewer has a drawer of wobbly first attempts. The ones who keep going are the ones with quilts, wardrobes, and eventually, alterations side businesses.
Beyond week 8: where sewing can take you 🧶
Eight weeks gives you competence; what comes next is direction. Sewing branches into whole worlds, and sampling them is half the fun:
- Garment sewing. Fitting patterns to your actual body, sewing with knits and wovens, building a handmade wardrobe one piece at a time. The online sewing community here is enormous and welcoming.
- Quilting. Precision piecing, color theory in fabric form, and a finished quilt that becomes a family heirloom. Quilters are famously generous teachers.
- Alterations and mending. Hemming, taking in waists, replacing zippers — unglamorous, constantly in demand, and the most practical sewing skill you can own. Visible mending has also become a craft movement of its own.
- Home sewing. Curtains, cushion covers, table linens — custom soft furnishings cost a fortune to buy and are straightforward to sew.
- Selling your work. From Etsy shops to local craft fairs, sewn goods sell well. If that path tempts you, our guide to selling handmade jewelry on Etsy covers marketplace fundamentals that apply to any craft.
You do not need to choose now. Follow whatever project makes you lose track of time — that is your direction choosing you.

The bottom line 🧵
Sewing rewards the steady more than the talented. Eight weeks of regular practice — even thirty minutes a few evenings a week — takes you from intimidated to capable, with a small stack of finished projects to prove it. The machine stops being scary somewhere around week two. The projects stop looking “homemade” somewhere around week six. And somewhere after that, you will catch yourself eyeing fabric in a store the way other people eye shoes.
Thread the machine. Sew the crooked line. Rip it out and sew it straighter. That loop, repeated with a good course guiding you, is the whole secret. There is no shortcut — but as paths go, this one comes with very nice tote bags.