







There’s a moment every beginner florist remembers: the first time an arrangement you made actually looks like the ones in the shop window. Before that moment, there’s usually a pile of droopy experiments and at least one incident involving too much floral foam. This guide is the shortcut through that phase — a clear technique ladder from your first tools to arrangements you could actually sell, and where courses fit into the climb. 🌿
What floral design actually involves (beyond “pretty flowers”)
Floral design is part craft, part perishable-goods logistics. Flowers die — that’s the whole game. A good florist knows how to buy, condition, store, and arrange plant material so it looks its best for as long as possible. The artistry gets the compliments; the plant science pays the bills.
The work breaks into a few real-world contexts: daily shop arrangements, wedding and event florals (the biggest money), subscriptions for offices and restaurants, and sympathy/funeral work (steady, respectful, and often overlooked by beginners). Online courses can teach you techniques for all of these, but the business looks different in each. Keep your end goal in mind as you learn — it shapes what you practice.
One more thing worth saying upfront: you don’t need “natural talent.” Floral design runs on principles — proportion, color, mechanics — that anyone can learn. If you’ve ever thought “I’m not artistic enough,” that belief is the only thing standing between you and your first good arrangement. Plenty of working florists started exactly where you are; our beginner’s field guide to starting a creative skill later in life is full of people who prove it.
Your starter toolkit (and what to skip)
Flower shops love selling beginners $200 tool kits. You need about a third of that. Here’s the honest starter list:
- Floral shears — not kitchen scissors, not craft scissors. Proper shears cut stems cleanly without crushing them, which keeps flowers drinking water. One good pair beats three cheap ones.
- A sharp floral knife — for re-cutting stems at an angle. Optional at first, standard later.
- Floral tape and wire — for boutonnieres, corsages, and reinforcing weak stems.
- A few vessels — start with simple glass cylinders and one low bowl. Fancy vases come later; mechanics matter more than containers right now.
- Chicken wire or floral frogs — the mechanics that hold stems in place. Chicken wire is cheap, reusable, and better than foam in most situations.
What to skip for now: floral foam (messy, bad for the environment, and increasingly rejected by eco-conscious clients), expensive imported vases, and any “professional kit” marketed to beginners. Buy flowers from a grocery store or local market — they’re cheap, fresh enough for practice, and nobody cares if your tenth practice arrangement uses $8 roses.
Level 1: Conditioning and mechanics (weeks 1–2)
Every course worth taking starts here, and every beginner wants to skip it. Don’t.
Conditioning means preparing stems so they last: cutting at a 45-degree angle under water (or at least immediately placing in water), stripping leaves that would sit below the waterline, and giving flowers a few hours in cool water before arranging. This single habit separates arrangements that last five days from ones that wilt by dinner.
Mechanics means the hidden structure: how chicken wire sits in a vessel, how a tape grid holds stems upright, how to anchor a frog. Practice making an empty vessel hold stems at the angles you want before you care about beauty. Ugly-but-stable beats beautiful-and-collapsing every time.
Your Level 1 project: buy one bunch of grocery-store flowers, condition them properly, and arrange them in a simple vessel using a tape grid. Do it five times. Notice how much longer they last than flowers you used to just stick in a vase.
Level 2: The round arrangement and the triangle (weeks 3–6)
Now the fun starts. The two foundational shapes:
The round/mound arrangement
The classic dome shape — greens first to establish the form, then focal flowers, then fillers. The rule beginners break most: they place every stem at the same depth, creating a flat “lollipop.” Vary your stem lengths so the arrangement has depth — some flowers nestle in low, others reach out. Turn the arrangement as you work; a good florist never builds from one side only.
The triangle
Three points — one tall, two wide — with flowers filling between. It’s the backbone of traditional design and teaches you proportion: the golden rule is that your tallest stem should be roughly 1.5 times the height of your container. This ratio shows up everywhere in design, and internalizing it early pays off forever.
Your Level 2 project: make the same arrangement in both shapes, photograph both, and compare. This is also when starting a simple portfolio habit pays off — building a portfolio while you learn means your progress is documented from day one.

Level 3: Hand-tied bouquets and asymmetry (weeks 6–12)
The hand-tied bouquet
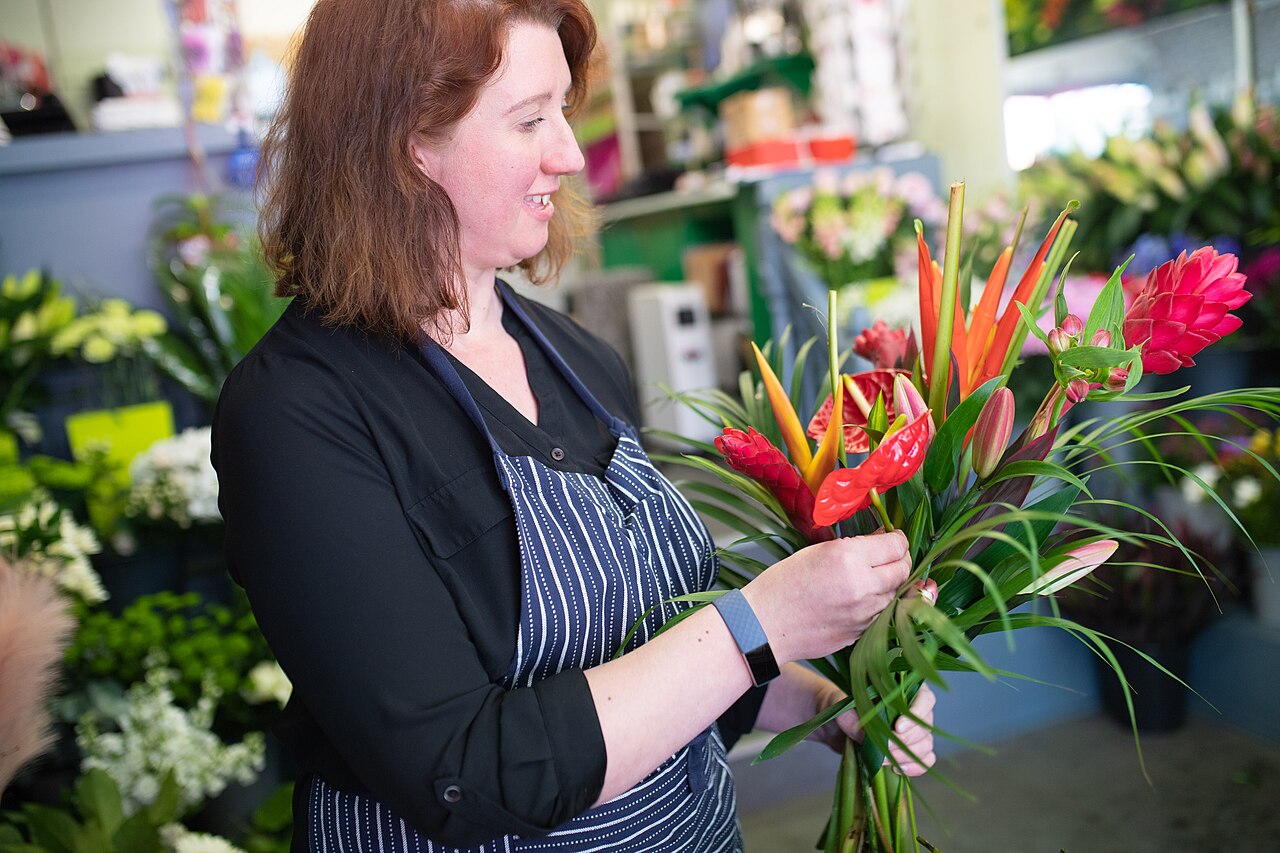
The spiral technique — stems crossed in one direction, bound at the binding point — is the single most useful skill in wedding floristry. Bridal bouquets, bridesmaid bouquets, and market bouquets all use it. It feels impossible for the first hour and natural by the tenth bouquet. Practice with cheap flowers until your hands learn the spiral; your brain will catch up.
Going asymmetrical
Modern floral design loves asymmetry: arrangements that feel gathered rather than constructed, with negative space and unexpected angles. The trick is that good asymmetry is still balanced — it just balances visually rather than symmetrically. Study arrangements you admire and ask: where’s the visual weight? What creates movement? Then try to build that feeling yourself.
A crash course in color theory
You don’t need art school, but you do need the basics:
- Monochromatic (one color, many shades) — elegant, safe, always works for weddings.
- Analogous (neighbors on the color wheel, like pink-orange-yellow) — harmonious and romantic.
- Complementary (opposites, like purple and yellow) — bold and dramatic; use with restraint.
- The 60-30-10 rule — roughly 60% dominant color, 30% secondary, 10% accent. It prevents the “fruit salad” look.
Your Level 3 project: make three hand-tied bouquets in three different color schemes. Give two away — generosity is also marketing, as you’ll see below.
Level 4: Installations and event work (months 4–6+)
This is where hobby becomes profession: ceremony arches, table garlands, hanging installations, large-scale event florals. The techniques scale up — bigger mechanics, structural thinking, working with a team — but the principles are the same ones from Level 1.
Event florals are also where the money is. A wedding’s flowers often run $2,000–$8,000+, and florists who can handle events earn accordingly. If this direction calls to you, it pairs beautifully with event planning — see our event planning career roadmap and the wedding planning certification guide for the business side.
Where do courses fit in?
You can absolutely learn Levels 1–2 from free videos. Courses earn their keep at Levels 3–4, where feedback matters — someone telling you why your bouquet looks off is worth more than ten more tutorials. Here’s how to choose:
- Look for technique-first curricula. The syllabus should name specific skills (spiral hand-tie, wiring, mechanics), not just vibes (“find your floral style”).
- Check for critique. Programs where instructors review your work accelerate learning enormously.
- Prefer courses that teach the business too. Pricing arrangements, sourcing wholesale, consultations — the difference between a hobbyist and a professional is rarely the flowers.
- Consider in-person workshops for Level 4. Installations are hard to learn purely online; one weekend intensive can be worth months of videos.
And apply the usual filters: our free vs. paid guide and how to choose your first course both apply here. If you’re practicing at home, setting up a budget-friendly workspace has ideas that transfer nicely to a home flower studio.

Selling your first arrangements
At some point, practice flowers start piling up and friends start asking “how much?” Here’s how to cross that line thoughtfully:
Price with the 3x rule (roughly)
A common starting formula: charge about 3 times your wholesale flower cost, which roughly covers materials, labor, and overhead. Retail beginners often undercharge — remember that your time, delivery, and expertise are real costs. Track every arrangement’s material cost from the start so pricing stops being guesswork.
Start with low-stakes sales
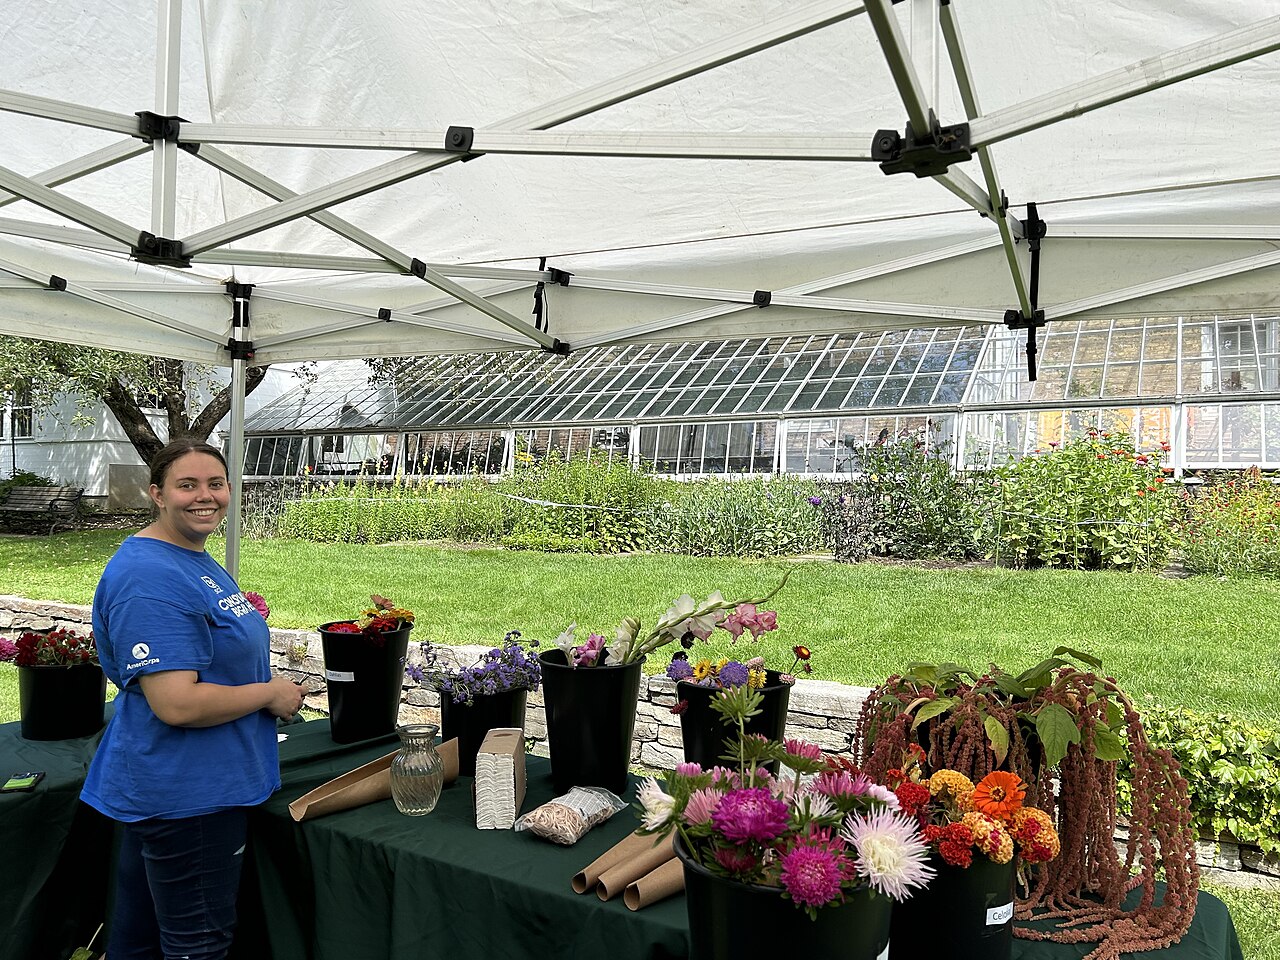
Weekly market bouquets, subscription flowers for a local café, birthday arrangements for friends-of-friends. These teach you the business mechanics — ordering, timing, delivery, customer communication — without wedding-level pressure.
Photograph everything
Every arrangement you sell is portfolio material. Ask permission, take good photos in natural light, and post consistently. Your Instagram is your shop window long before you have a real one.
The sympathy market
Worth mentioning because beginners overlook it: funeral and sympathy flowers are steady, meaningful work with less price sensitivity. It requires tact and reliability, not trendiness. Local funeral homes always need dependable florists.
Common beginner mistakes
- Buying flowers before learning conditioning. Technique first, then investment in materials.
- Arranging in bad light. Colors lie under warm indoor bulbs. Work near a window.
- Overstuffing. Beginners add more flowers when an arrangement looks wrong; usually it needs fewer stems and better placement.
- Ignoring the back. Turn your work. Always.
- Comparing your week 3 to someone’s year 10. The florists you admire have made thousands of arrangements. You’re making your twentieth. That’s exactly where you should be.
Your first 30 days
Week 1: buy shears, tape, and chicken wire. Learn conditioning. Make your first tape-grid arrangement.
Week 2: practice mechanics daily — even 15 minutes. Make three round arrangements and photograph them.
Week 3: try the triangle. Start a simple photo log of everything you make.
Week 4: attempt your first hand-tied bouquet. It’ll be lumpy. Make another. Notice the improvement.
Thirty days of deliberate practice takes most people further than they expect. Pair it with one well-chosen course when you’re ready for feedback, and you’ll have a genuine skill — one that can stay a joyful hobby or grow into weekend income. For the path from new skill to first paycheck, this guide covers the business transition step by step.
Flowers are forgiving teachers: they don’t judge your early attempts, and every bunch is a fresh start. Pick up those shears. 💐