







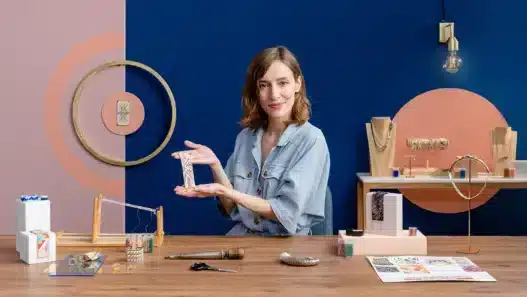
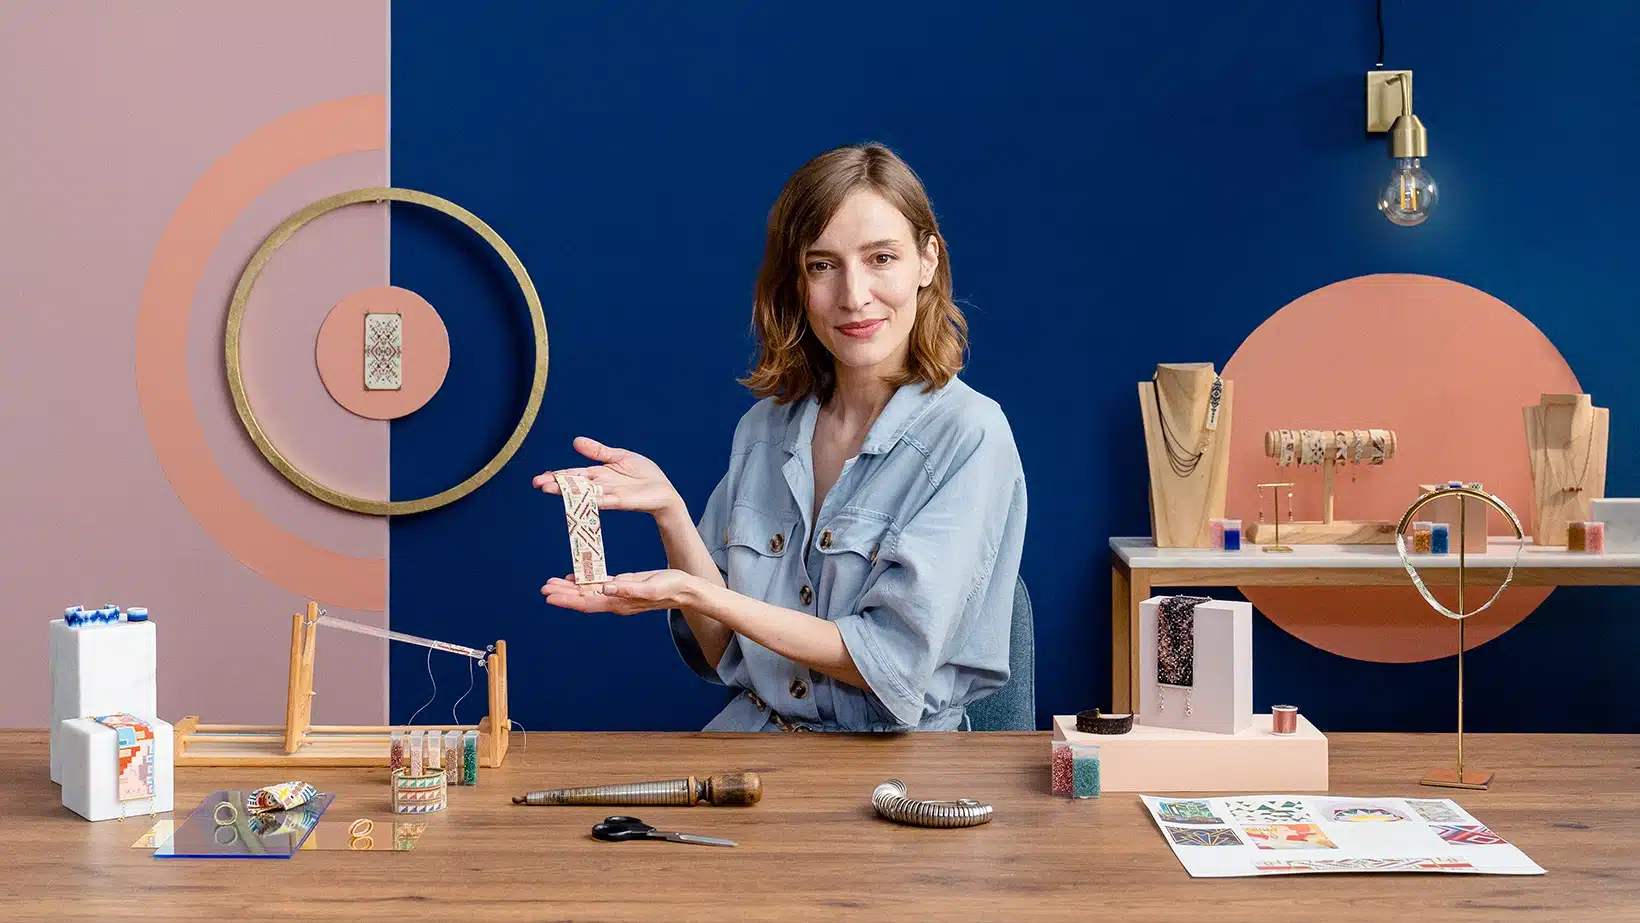
There is a moment every bead weaver remembers: you are halfway through your first bracelet, the pattern is finally emerging from what looked like chaos ten minutes ago, and you realize you have been sitting in complete silence for an hour, utterly absorbed. Beadwork does that to people. It is meditation with a finished product.
Beaded jewelry, tiny glass beads woven into intricate patterns with needle and thread, is one of humanity’s oldest art forms and one of the most satisfying crafts to learn. The materials cost almost nothing, the whole studio fits in a shoebox, and the finished pieces look far more impressive than the effort suggests. A peyote-stitch bracelet you make in your third week will get compliments from people who assume it took years.
This guide covers what beaded jewelry involves, the two core techniques every beginner learns (loom weaving and peyote stitch), what a good course should teach, the materials you need, and how to practice your way to original designs.
What beaded jewelry actually is
Forget stringing beads on elastic, that is a different (also fine) craft. Bead weaving means building fabric from beads, one bead at a time, following patterns the way knitters follow charts. Each bead is placed deliberately, which is why the results can include geometric patterns, gradients, images, and textures that look almost digital in their precision.
The two foundational techniques:
- Loom weaving. Beads are woven on a small loom, warp threads holding the structure while you weave beads across on weft thread. It produces flat, even bands, perfect for bracelets, and it is the fastest way for a beginner to get a beautiful finished piece, because the loom does the structural thinking for you.
- Peyote stitch. An off-loom technique where beads are stitched in offset rows, each bead nesting into the gaps of the previous row like bricks. It creates a flexible, fabric-like beadwork that can become bracelets, rings, pendants, and sculptural pieces. Slightly harder to learn, infinitely versatile once you do.
Most courses teach both, starting with the loom for quick wins and moving to peyote for creative freedom. Together they cover nearly everything a beginner needs.
What a good course should teach you
Beadwork is fiddly, and fiddly crafts live or die on close-up teaching. The syllabus should include:
- Materials literacy. Bead types and sizes (seed beads, Delicas, and why size consistency matters), thread types, needles, and findings (clasps, jump rings). Beginners who buy the wrong beads fight their materials for weeks; a good first unit prevents that.
- Threading, tension, and basic stitches. How to thread a needle without swearing, how to keep tension even (the invisible skill behind all neat beadwork), and how to start and end threads invisibly.
- Loom setup and weaving. Warping the loom, weaving rows, reading a pattern chart, changing colors, and finishing the ends into a wearable bracelet.
- Peyote stitch, flat and in the round. Even-count and odd-count peyote, increases and decreases, and tubular peyote for rings and ropes. This is the technique core; it deserves real time.
- Reading patterns and charts. Beadwork patterns are grids. Learning to read them unlocks thousands of free and paid designs beyond the course.
- Designing your own patterns. Color theory for beadwork, creating original charts (on paper or in software), and adapting motifs. This is the bridge from craftsperson to designer.
- Finishing professionally. Attaching clasps, weaving in ends, edging techniques. The difference between “nice” and “I would pay for this” lives entirely in the finishing.
- Finished pieces. At minimum a loom bracelet and a peyote piece (bracelet or ring), designed and finished by you.
Materials: the complete beginner kit
- Beads: one tube each of 2-3 colors of size 11/0 seed beads to start (Delicas if your budget allows; their uniformity makes learning easier). Do not buy the mixed “craft bead” bags; inconsistent sizes teach you nothing but frustration.
- A bead loom. Small, inexpensive wooden or metal looms are perfect. You will outgrow a tiny one eventually, but not for months.
- Needles: beading needles (long, thin, flexible eye). Buy a pack; they bend and they are cheap.
- Thread: beading thread (not sewing thread) in a neutral color. Your course will specify; thread choice genuinely affects results.
- Findings: a few clasps, jump rings, and cord ends for finishing bracelets.
- The unglamorous essentials: good lighting, a bead mat (beads roll; mats stop them), small scissors, and reading glasses or magnification if your eyes need help. Beadwork is small. Respect the smallness.
Total startup cost is typically under $50, which makes this one of the cheapest crafts to begin seriously. If you later want to sell, this guide to jewelry making and selling online picks up where the craft leaves off.
How to choose the right course
- Camera work is everything. Preview lessons must show extreme close-ups of the hands. Beadwork happens at millimeter scale; a wide shot of someone’s desk teaches you nothing. If you cannot see individual beads in the preview, move on.
- Pacing for real beginners. The instructor should work slowly through the first rows of each technique and narrate the fiddly bits: how the needle angles, where the tension comes from, what “wrong” looks like so you can recognize it.
- Both techniques, one course. Loom-only courses leave you dependent on the loom; peyote-only courses delay your first finished piece. A course teaching both gives you quick wins and long-term versatility.
- Troubleshooting content. Twisted thread, beads that will not sit straight, tension disasters, running out of thread mid-row: these are not edge cases, they are Tuesday. Courses that address them were made by real teachers.
- Pattern reading included. If the course only teaches you to copy the instructor’s designs, you graduate dependent. Pattern literacy makes you independent.
Practice that builds skill (and a stash)
- Samplers before projects. Weave small technique samplers: a strip of peyote in each new variation, a color-blending test. They take an evening each and become your personal reference library.
- One technique at a time. Get comfortable on the loom before tackling peyote. Stacked learning beats parallel struggling.
- Short, frequent sessions. Beadwork rewards 30-45 minute sessions; beyond that, eyes tire, tension gets sloppy, and mistakes multiply. Stop while you are ahead.
- Finish things. A finished simple bracelet teaches more than three half-done ambitious cuffs. Finishing is a separate skill; practice it deliberately.
- Photograph in good light. Beadwork photographs beautifully in natural daylight and terribly under yellow bulbs. Document everything; your early pieces are your portfolio’s origin story.
Mistakes beginners make
- Cheap, inconsistent beads. Worth repeating: irregular beads make even rows impossible, and you will blame your technique for the beads’ failure. Decent beads are the cheapest skill upgrade in the craft.
- Wrong thread. Sewing thread stretches and breaks; beading thread does not. This is not a place to improvise.
- Death-grip tension. Pulling thread too tight puckers the work; too loose and it flops. Even, moderate tension comes from practice, not force. If your work curls, relax your hands before changing anything else.
- Skipping the finishing lessons. Everyone wants to weave; nobody wants to learn clasp attachment. But unfinished pieces live in drawers, and finished pieces get worn, gifted, and sold. The last 10 percent is half the value.
- Starting with your “dream” design. Your first pieces should be simple patterns that teach technique. Save the intricate cuff with the phoenix motif for month three; you will execute it ten times better with two months of basics behind you.
Frequently asked questions
How long does it take to make a bracelet?
A simple loom bracelet: 2-4 hours once you know the technique. A peyote bracelet: 4-8 hours. Your first ones take longer; speed comes naturally. The meditative pace is part of the appeal, not a bug.
Is beadwork bad for your eyes or hands?
It is small, detailed work, so take it seriously: good lighting, magnification if needed, regular breaks, and stretches for hands and neck. With those habits, people bead comfortably for decades.
Can I sell beaded jewelry?
Yes, and it sells well because the labor is visible: buyers understand intuitively that each bead was placed by hand. Price for your time, not just materials; beginners chronically underprice. Read turning learning into income before setting prices, and note that original designs sell better and more ethically than copied patterns.
Loom or peyote: which should I learn first?
The loom, for the quick win and the confidence. Then peyote, for the creative freedom. In that order, every time.
Beaded jewelry is proof that the best crafts are not the ones with the most impressive tools but the ones with the deepest focus. A shoebox of beads, a needle, good light, and an hour of quiet: that is the whole studio. Start with a simple bracelet, finish it properly, and wear it. Then make the next one better.