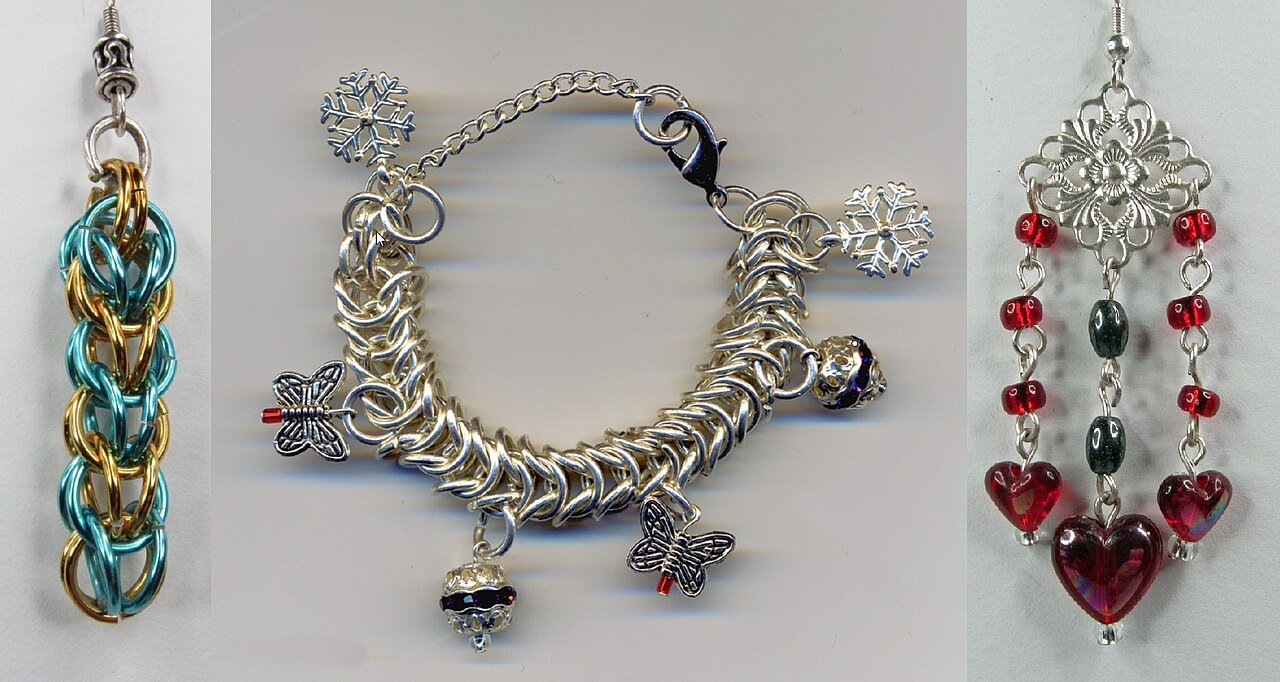








There is a moment every jewelry maker remembers: holding up a finished pair of earrings, turning them in the light, and realizing you made that. It is a small object with an outsized feeling — wearable, giftable, sellable proof of a new skill.
Jewelry making is also one of the few crafts with a genuinely clear progression: you can start with beads and a pair of pliers this weekend, and — through wire, metal clay, stamping, and soldering — work your way up to a bench that looks like a tiny professional studio. This guide maps that skill ladder, the tools each rung requires, and then the part most craft courses skip: photographing your pieces and actually selling them on Etsy.
The skill ladder: from first bead to fine metalwork
Level 1: Beading and stringing 📿
Where everyone starts, and there is no shame in it — beaded jewelry is a multi-billion-dollar market. You learn design fundamentals here: color, proportion, balance, and how findings (clasps, jump rings, ear wires) work. Tools cost almost nothing: round-nose pliers, chain-nose pliers, wire cutters, and beading wire or cord.
First projects: stretch bracelets, simple pendant necklaces, earrings on headpins. You can finish your first wearable piece in an afternoon, which makes this level the perfect confidence builder.
Level 2: Wire wrapping and wirework
One step up in skill, a universe up in possibilities. With wire in various gauges and tempers, you learn to make your own findings — wrapped loops, clasps, ear wires — and to set stones without glue or soldering. This is where pieces start looking “handmade” in the best sense: visibly crafted.
New tools: a few more pliers (flat-nose, bent-nose), a chasing hammer and steel block for hammering texture, a mandrel for rings. Still very affordable.
Milestone: a wire-wrapped cabochon pendant — the project that makes people ask “wait, you made this?”
Level 3: Metal stamping, texturing, and cold connections
Now you are working with sheet metal and blanks: stamping names and patterns, texturing with hammers and rolling mills, joining pieces with rivets instead of solder. Personalized stamped jewelry — names, dates, coordinates — is an Etsy bestseller category, and this level is its engine room.
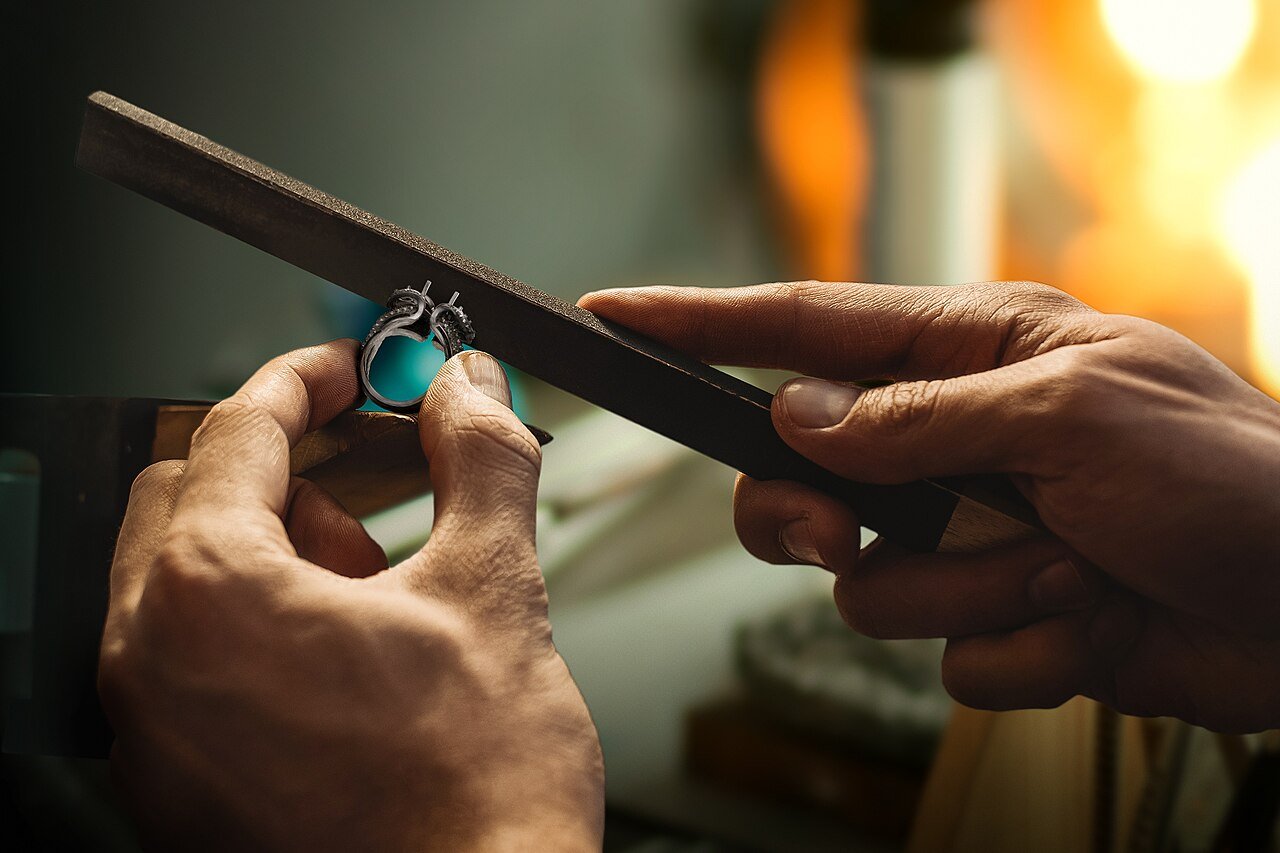
New tools: metal stamps, stamping block, metal shears or jeweler’s saw, files, riveting tools. A modest investment that pays for itself quickly if you sell personalized pieces.
Level 4: Soldering and silversmithing 🔥
The professional rung. With a torch, solder, and pickle pot, you join metal permanently — making rings from scratch, setting stones in bezels, building pieces that look store-bought (only better). This level demands respect: you are working with open flame and chemicals, so ventilation and safety training are non-negotiable.
New tools: butane or propane torch, third hands, soldering block, pickle pot, flux and solder. Budget a few hundred dollars and a proper workspace setup.
The honest note: many successful Etsy sellers never go past Level 2 or 3. Soldering is wonderful, but it is not a prerequisite for a thriving jewelry business. Climb as high as your interest takes you — the market rewards beautiful work at every level. If you are weighing which creative skill to invest in, our field guide to starting a creative skill as an adult can help you choose.
Tools: what you actually need (and what can wait)
| Level | Essential tools | Typical cost |
|---|---|---|
| 1 — Beading | 3 pliers, cutters, beading wire, findings assortment | $30–$60 |
| 2 — Wirework | Add: chasing hammer, steel block, mandrels, more wire gauges | $60–$120 total |
| 3 — Stamping | Add: stamp set, stamping block, jeweler’s saw, files | $150–$300 total |
| 4 — Soldering | Add: torch, soldering block, pickle pot, ventilation | $400–$800 total |
Buy tools as you climb, not before. The classic beginner error is purchasing a silversmithing setup while still at the beading stage — expensive, and the torch gathers dust. A good course paces tool purchases to match the curriculum, which is one more reason to choose your course carefully rather than assembling a random playlist.
Photographing your pieces: the skill that sells
Here is something jewelry courses rarely teach but every seller must learn: on Etsy, your photograph is your product. Customers cannot touch your work; they buy the image. The good news is that jewelry photography needs almost no gear — just understanding.
- Light is everything. A window with indirect daylight beats any cheap ring light. Photograph near the window, never with the flash on.
- Backgrounds stay simple. White or light grey seamless paper (a $10 roll) makes metal and stones pop. Busy backgrounds fight your piece for attention.
- Show scale. Jewelry is small; customers constantly misjudge size. Include a lifestyle shot — earrings worn, a ring on a hand, a pendant against a collarbone. This single habit reduces returns and bad reviews.
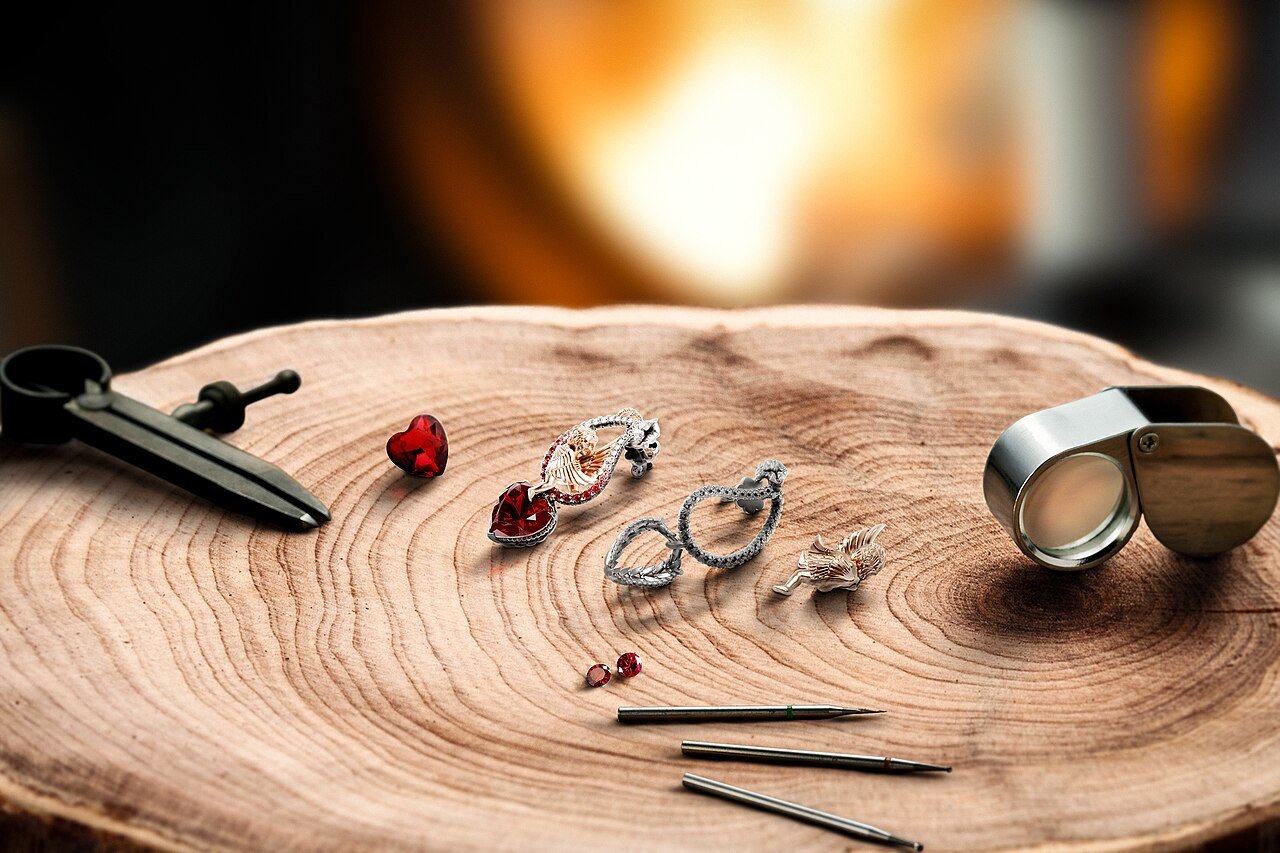
- Capture the detail. One hero shot, one worn shot, one extreme close-up of the craftsmanship, one scale shot. Four photos minimum per listing.
- Consistency builds a shop. Same background, same lighting setup, same editing preset across all listings. A cohesive shop looks established and trustworthy; a patchwork of styles looks like a garage sale.
You do not need a macro lens to start — modern phone cameras with good window light produce perfectly sellable images. Upgrade your camera when your sales justify it, not before.
Etsy setup basics: from maker to shop owner
Opening the shop takes an afternoon; making it work takes ongoing attention. The fundamentals:
- Shop identity first. Name, banner, logo, and an “about” section with your photo and story. Buyers of handmade goods buy from people — anonymity is a disadvantage here, as our guide to building a candle brand also emphasizes.
- SEO titles, not poetry. “Gold-filled hammered hoop earrings, everyday minimalist jewelry, gift for her” will be found; “Whispers of Dawn Collection No. 7” will not. Front-load the words buyers actually search.
- Start with a tight collection. Ten to twenty listings in a coherent style beats fifty scattered experiments. Cohesion signals professionalism.
- Price with the formula. Materials + labor (at a real hourly rate) + Etsy fees (roughly 10–13% all-in) + profit margin. Underpricing does not just hurt you — it trains customers to devalue handmade work generally. More on the mindset in turning learning into income.
- Shipping, decided upfront. Weigh a finished package, know your postal options, and build shipping into your pricing strategy before the first order — not during it.
- Reviews are currency. A handwritten thank-you note in the first orders costs pennies and earns the five-star reviews that power Etsy’s search ranking.
Practice routines that build real skill
Jewelry rewards short, regular sessions more than marathon weekends. Thirty focused minutes — making ten identical jump rings, practicing wrapped loops until they are uniform, sawing straight lines in copper sheet (cheap practice metal before you touch silver) — builds the muscle memory that separates clean work from wobbly work.
Keep your early pieces. Date them. In six months, line them up in order: the visible improvement is the best motivation there is, and later, it becomes powerful content for your shop’s story. Documenting your progress also builds a natural portfolio as you learn — future customers and wholesale accounts love a maker with a visible journey.

Beyond Etsy: other places your jewelry can sell
Etsy is the obvious starting point, but it is not the only one — and diversifying protects you from algorithm changes and fee hikes:
- Local craft fairs and markets. Jewelry is the perfect market product: small, portable, and customers love trying pieces on. One good holiday market can fund months of materials.
- Consignment in boutiques. Local gift shops and salons often take jewelry on consignment (typically a 40–60% split in your favor). It puts your work in front of buyers who never shop online.
- Instagram and TikTok shops. Process videos — sawing, soldering, polishing — are mesmerizing content, and social commerce lets followers buy without leaving the app. Our guides to content creation courses and video editing for reels and TikTok can help you film your bench work well.
- Your own website. More work, but full control and no marketplace fees. Many sellers start on Etsy and migrate repeat buyers to their own shop over time.
Choosing the right jewelry making course
- Level-matched curriculum. A course should state clearly which rung of the ladder it teaches. “Learn jewelry making” is vague; “wire-wrapped stone setting for beginners” is a promise you can verify.
- Extreme close-up videography. Jewelry work happens at fingertip scale. If you cannot see exactly how the pliers grip the wire, the course cannot teach you.
- Materials honesty. Good instructors tell you when to practice in copper and when a project deserves sterling silver — and explain metal costs upfront.
- Safety for the hot stuff. Any soldering content must cover ventilation, eye protection, and pickle safety thoroughly.
- The business bridge. The best courses include at least a module on pricing, photographing, and listing work — because most students dream of selling.
The bottom line ✨
Jewelry making is that rare craft where the learning curve and the business curve run side by side: every new technique opens the door to new products, and every product sold funds the next tool. Start with beads and pliers this weekend. Climb the ladder at your own pace — there is no rule that says you must reach soldering to succeed. Photograph everything in good window light. And when you list that first piece on Etsy, price it like the skilled work it is.
The earrings in the photo at the top of this article? Someone made those at a kitchen table, probably while half-watching a tutorial. In a few months, that someone could be you. (And if metal is not your medium, sewing offers its own satisfying path from first stitch to finished wardrobe.)