








Your sketches have soul. The loose lines, the energy, the idea captured in thirty seconds — there’s something in that rough drawing that feels more alive than most finished art. But they’re stuck on the page. Flat. Unfinished. You can see the epic character painting hiding inside the sketch, and you have no idea how to let it out.
Here’s how. Turning a sketch into a finished digital painting is a learnable pipeline — not talent, a process. Every professional illustrator does some version of it. Let’s walk through yours.
Why Sketches Die (And How Paintings Are Born)
Sketches die for one reason: the jump from “rough idea” to “finished piece” feels like a cliff. Beginners try to paint directly over the sketch, get overwhelmed by the gap, and quit. Professionals don’t jump the cliff — they build a bridge of stages, each one small and manageable. The secret isn’t skill at any single stage; it’s having the stages.
Here’s the pipeline: sketch → cleanup → values → color → rendering → polish. Six steps. Each one transforms the piece a little. None of them is scary on its own.
Stage 1: The Sketch (Keep It Loose)
Your starting sketch should be loose and energetic — that’s its job. But before moving on, check three things:
- Silhouette. Squint at it. Does the overall shape read? Fix big shape problems now — they’re ten times harder to fix later.
- Proportions. Roughly right is fine. Mark anything you know is wrong so you remember to fix it in cleanup.
- The idea. Can you state in one sentence what this piece is about? “A tired warrior resting before the final battle.” If you can’t, the painting will wander.
Scan or photograph your sketch at good resolution and bring it into your painting software as the bottom layer, set to low opacity or Multiply mode.
Stage 2: Cleanup (The Boring Hero)
On a new layer, redraw the sketch with clean, confident lines. This isn’t tracing — it’s deciding. Every wobbly exploratory line becomes one deliberate line. Fix the proportions you flagged. Simplify where the sketch was busy; strengthen where it was timid.
This stage feels unglamorous, but it’s where paintings are actually won or lost. A clean, well-constructed drawing underneath makes every later stage easier. Rush this and you’ll fight the drawing all the way to the finish.
Stage 3: Values (Paint in Grayscale First)
Here’s the technique that separates beginners from everyone else: do your lighting in grayscale before touching color. Create a new layer set to Multiply (for shadows) and Screen or Overlay (for highlights), and paint the full light-and-shadow structure in black, white, and gray.
Why? Because value (light vs. dark) carries 80% of what makes an image readable. Color is decoration on top of value structure. If your grayscale version reads clearly — you can tell what’s near and far, lit and shadowed — the color stage becomes almost automatic. If it doesn’t read in grayscale, no color choice will save it.
This is also where you establish your light source. One direction. Every shadow agrees. (If this feels unfamiliar, a course focused on color and light will build the instincts fast — traditional media teaches value better than anything.)
Stage 4: Color (The Fun Part, Made Easy)
With values established, add color on a new layer set to Color or Overlay blend mode. The grayscale underneath does the lighting work; you’re just tinting it. This is why the values stage matters so much — it turns coloring from a hard problem into an easy one.
Choose a limited palette first: 3–5 main colors plus neutrals. Pick colors that serve the one-sentence idea from Stage 1 — warm and golden for hope, cold and desaturated for dread. Then paint flat color regions on the Color layer and let the values shine through.
Stage 5: Rendering (Where It Comes Alive)
Rendering means developing the details: refining edges, adding texture, painting the small things that make surfaces believable. Rules:
- Render the focal point most. The face, the hands, the key object — full detail here. Everything else can stay looser. Viewers’ eyes go to detail; control them with it.
- Vary your edges. Hard edges advance, soft edges recede. Sharp where you want attention, lost edges where you don’t. Edge control is the most underrated skill in digital painting.
- Work big to small. Big shapes first, medium details next, tiny details last. Beginners who start with eyelashes before the head shape is right are building on sand.
- Flip the canvas regularly. Horizontal flip reveals every proportion error your eyes adapted to. Flip often; fix ruthlessly.
Stage 6: Polish (The Final 10%)
Step away for a day if you can — fresh eyes catch everything. Then: color balance adjustments, a subtle vignette to focus the eye, rim light where needed, texture overlays used sparingly, and your signature. Check the piece at thumbnail size: if it reads small, it’s done. If not, the problem is in the big shapes (go back to Stage 3 thinking, not more detail).
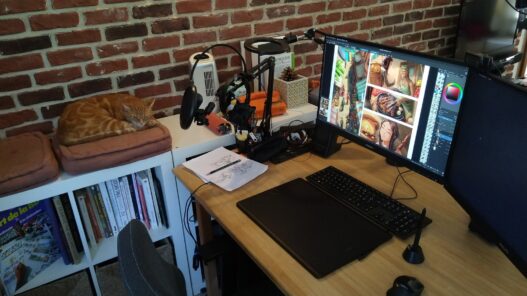
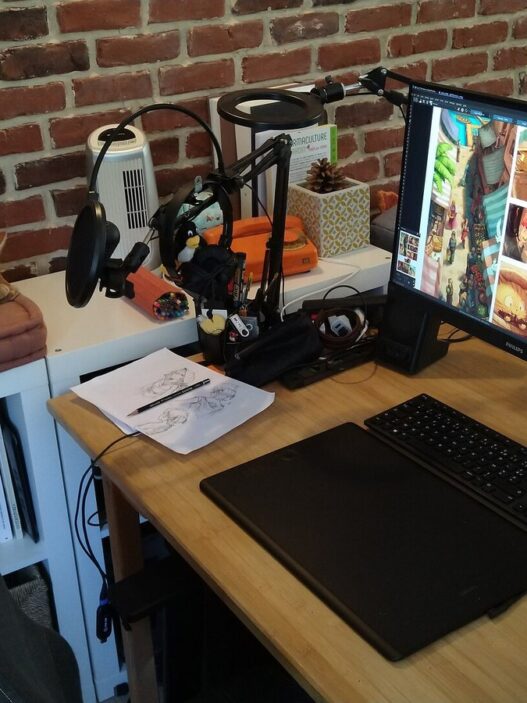
Your Digital Studio Setup
- Software: Photoshop, Clip Studio Paint, Procreate, or free Krita. All handle layers and blend modes — the only features this pipeline needs.
- Tablet: pressure sensitivity matters for natural brush control. Even an entry-level pen tablet is a massive upgrade over a mouse.
- Brushes: start with the defaults. One hard round brush and one soft brush cover 90% of professional work. Brush collecting is procrastination disguised as preparation.
Frequently Asked Questions
How long does one painting take?
A finished character painting takes a beginner 10–20 hours across the six stages. That sounds like a lot until you realize it’s six manageable sessions, not one marathon. Speed comes naturally — don’t chase it.
My paintings look muddy. What am I doing wrong?
Almost always: skipping the values stage, or using too many colors. Do the grayscale pass honestly and limit your palette — muddiness disappears.
Should I learn traditional painting first?
It helps, especially for understanding paint behavior and color mixing, but it’s not required. Plenty of digital painters never touched oils. What matters is the pipeline thinking — and building the daily habit that makes the pipeline automatic.
Studying Other Paintings (Without Copying)
The fastest way to improve your rendering: study finished paintings like a mechanic studies an engine. Not to copy the image — to reverse-engineer the decisions.
Pick a painting you admire and interrogate it:
- Squint test. Squint until the details vanish. What remains is the value structure — the skeleton everything hangs on. Sketch that skeleton. Compare it to your own work’s skeleton.
- Count the colors. Sample the actual palette with an eyedropper. You’ll be shocked how few distinct colors most paintings use — often five or six, mixed and varied. Limited palettes, unlimited paintings.
- Map the edges. Where are the hardest edges? Almost always on the focal point. Where do edges dissolve? In the shadows and background. Edge control is doing the compositional heavy lifting.
- Find the lie. Every good painting cheats — exaggerated light, impossible color, simplified anatomy. Find what the artist exaggerated and ask why. That’s the lesson.
Do one such study per week alongside your own paintings. Within two months, your “eye” — the ability to see what’s actually wrong with your own work — will be unrecognizably sharper. Technique follows perception: you can’t fix what you can’t see, and studies teach you to see.
Digital or traditional studies?
Both, for different reasons. Traditional studies (even cheap watercolor) teach you color mixing and commitment — no undo button. Digital studies teach you the tools you’ll actually paint with. If time is limited, match the medium to your goal: paint traditionally to understand color, digitally to understand workflow.
Bring Them to Life
That sketch on your desk — the one with soul — is a painting waiting for six stages. Scan it tonight. Clean it up tomorrow. By next week, it won’t be stuck on the page anymore. And once you’ve done it once, you’ll do it forever: every sketch becomes a doorway, and you hold the key. Share your finished pieces as you go — building a portfolio while you learn turns practice into proof, and proof into opportunity.