








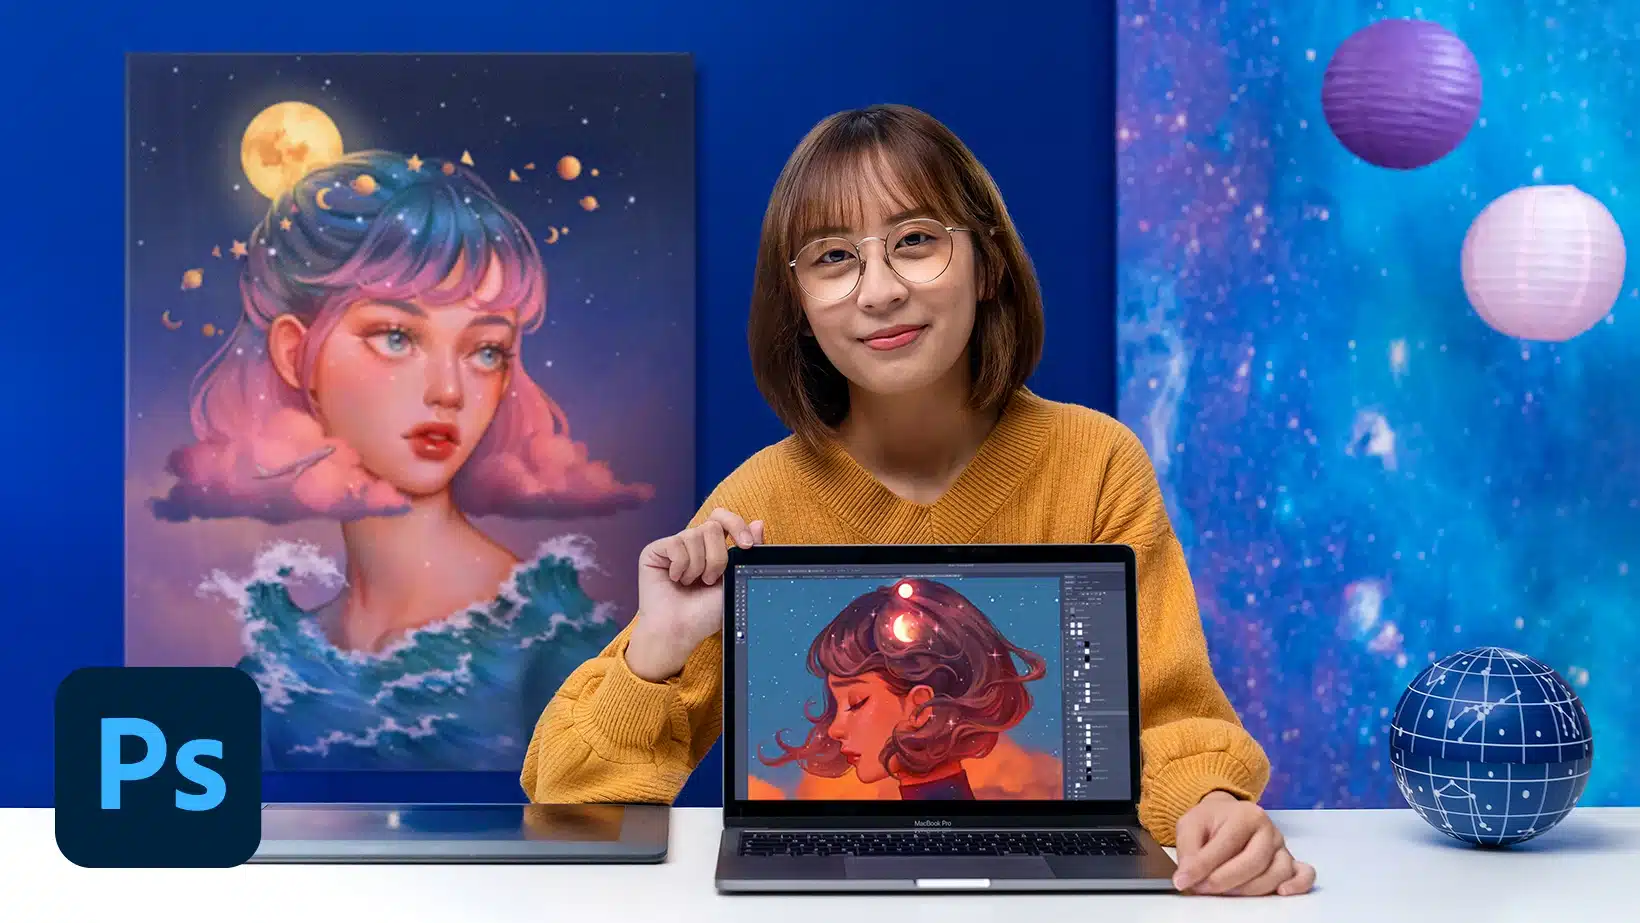
There is a kind of painting that stops your scroll cold. A girl with lantern-lit freckles standing in a forest that seems to be breathing. A warrior whose armor is cracked like river ice. A stranger whose eyes tell you the entire story before you read a single word.
Those are digital fantasy portraits, and here is the part nobody tells beginners: they look like magic, but they are built from repeatable technique. Nobody is born knowing how to paint glowing skin or believable firelight. Every artist you admire learned it step by step, usually from a structured course, a stack of references, and a lot of ugly early attempts they never posted.
This guide walks you through what fantasy portraiture actually involves, what a good online course should teach you, how to pick one that is worth your money, and the practice habits that separate the people who finish from the people who quit after week two.
What “fantasy portraiture” really means
Strip away the dragons and the glowing eyes and you are left with two crafts stitched together. The first is portraiture: drawing a convincing human face, which means understanding skull structure, planes, and how light wraps around a cheek. The second is visual storytelling: using costume, environment, color, and mood to hint at a world beyond the frame.
That storytelling part is the real difference between a pretty digital painting and a fantasy portrait. A pretty painting shows you a face. A fantasy portrait makes you wonder who this person is, where they come from, and what they are afraid of. Courses that skip this part tend to produce artists who can render a nose beautifully but cannot compose an image anyone remembers.
The good news? You do not need to invent everything from scratch. Most fantasy artists work from a heavy foundation of real-world observation: real anatomy, real fabric, real light. The fantasy layer, the glowing tattoos, the impossible jewelry, the strange weather, gets built on top of something believable. That is exactly why this skill is so learnable: the fundamentals are old, documented, and teachable.
What a good course should actually teach you
Not every course with a shiny thumbnail is worth your time. When you are comparing options on course marketplaces, check whether the syllabus covers these five areas. If it does, you are looking at a serious course. If it skips half of them, keep browsing.
1. Concept and narrative first
The best fantasy portrait courses start before a single brushstroke: mood boards, reference gathering, thumbnail sketches, and deciding what story the portrait tells. You should be learning how to collect references (costume photos, lighting references, texture shots) and how to combine them into a concept that feels cohesive rather than random. This is the part that makes your work feel intentional.
2. Photoshop fundamentals that matter for painting
You do not need to master every menu in Photoshop. You need the painter’s toolkit: layers and blending modes, clipping masks, selections, transform tools, and a solid brush setup. A good course shows you a streamlined workflow, maybe a dozen tools total, and sticks with it. If a course spends three hours on every filter in the menus, it is teaching software, not painting.
3. Light, color, and atmosphere
This is the engine room of fantasy art. Rim light that separates a character from the background, subsurface glow on skin, firelight versus moonlight, and the atmospheric perspective that pushes backgrounds into a believable haze. Expect lessons on color temperature, limited palettes, and how to cheat luminous effects with layer modes instead of painting every photon by hand.
4. Rendering skin, fabric, and detail
Rendering is just a fancy word for finishing: taking a rough painted block and pushing it until the skin has pores, the fabric has weave, and the metal has scratches. A strong course teaches you when to zoom in and render tightly and when to leave things loose, because knowing what not to render is half the skill. Beginners who render everything equally end up with portraits that look stiff and overworked.
5. Polish and presentation
The final stretch: color grading the whole piece, adding light blooms and particles, sharpening the focal area, and exporting for web. It is the least glamorous unit and the one that makes a painting look “finished” instead of “abandoned.” Do not underestimate it.
How to pick the right course (and not waste money)
Course platforms are crowded, and thumbnails all look incredible. Here is a practical filter:
- Watch the free preview lessons. Every serious course offers some. You are checking two things: can you follow the instructor’s way of explaining, and does the final project match what you actually want to make?
- Look at student work, not the instructor’s portfolio. The instructor is already great. What matters is whether beginners produced decent work after taking the course. Most platforms show student projects.
- Check the project, not the promise. A course that ends with one complete fantasy portrait from sketch to polish is worth more than one with forty scattered technique demos and no finished piece.
- Match the course to your level. Some courses assume you can already draw a face. If you cannot, that is fine, but pick a course that includes the drawing fundamentals or pair it with one that does.
- Read the syllabus for the boring stuff. Layers, references, file setup. Courses that mention workflow and organization tend to be made by working professionals. Courses that only list flashy outcomes tend to be made for thumbnails.
If you are unsure where to start, this guide to choosing your first online course walks through the decision in more detail.
What you actually need to get started
The shopping list is shorter than you think:
- Photoshop. The subscription is the standard for this kind of work. There are free alternatives, but most fantasy portrait courses are taught in Photoshop, and following along is much easier when your menus match.
- A drawing tablet. You cannot paint with a mouse, full stop. A basic pen tablet from Wacom, XP-Pen, or Huion is enough to start. Screen tablets are nicer but absolutely not required.
- References. Free stock sites, your own photos, film stills for lighting. Build a reference folder before you start; hunting for references mid-painting kills momentum.
- Time, in small doses. Thirty focused minutes beats a frantic four-hour weekend session. Consistency is the whole game.
You do not need a powerful computer, a specific chair, or expensive brushes. Most of the best fantasy artists started on modest setups. The tablet matters; almost nothing else does.
A practice routine that actually works
Here is a weekly structure that fits around a job and a life, borrowed from how working illustrators actually train:
- Daily (20-30 min): one small study. A nose from three angles. A lighting study from a film still. An eye with rim light. Small, finished, done.
- Weekly (2-3 hours): one bigger piece or a chunk of your course project. This is where you apply the studies.
- Monthly: revisit an old piece and repaint it. Nothing shows progress like a redraw, and it is the best motivation there is.
Keep everything, especially the bad ones. A folder of old work is proof that the plateau you feel stuck on is actually a staircase. If building the habit itself feels hard, this guide on building a learning habit that sticks is worth a read.
Beginner mistakes worth skipping
- Starting with the final piece instead of studies. Everyone wants to paint the epic portrait on day one. The artists who get there fastest are the ones who spent two months on boring lighting studies first.
- Painting from imagination only. “I want my own style” is a noble goal for year three. In month one, references are not cheating; they are how your brain learns what things look like.
- Rendering everything. Beginners polish the whole canvas evenly. Pros render the face tightly and leave the background suggestive, because contrast in detail is what creates focus.
- Ignoring values. If your painting looks muddy, it is almost never a color problem. Squint at it or convert it to grayscale: nine times out of ten the values (light vs. dark) are the issue, not the hues.
- Collecting courses instead of finishing one. One course, completed, beats five courses at 20 percent. Finish the project. Post it. Then decide what is next.
Frequently asked questions
Do I need to know how to draw before learning digital fantasy portraits?
It helps enormously, but you can learn both in parallel. Many courses include the drawing fundamentals you need. What you cannot skip is the willingness to do the unglamorous studies, faces, hands, light, alongside the fun fantasy stuff.
Photoshop or Procreate?
Both are legitimate. Photoshop dominates professional fantasy and game art pipelines, and most in-depth courses are taught in it. Procreate is cheaper, simpler, and great on iPad. If your goal is client or studio work, learn Photoshop. If your goal is personal art and fun, pick whichever you will actually open every day.
How long until my portraits look good?
Honest answer: with consistent daily practice, most people see a real jump in 3-6 months and start producing portfolio-worthy pieces in a year. Anyone promising faster is selling something. The good news is that every study makes the next one easier; progress compounds.
Can I make money with this?
Yes: character commissions, game and book cover art, prints, and teaching. But treat income as a year-two goal. Year one is about building the skill and a body of work. When you are ready to think about the business side, read up on building a portfolio while you learn so your practice doubles as career prep.
Fantasy portraits look like they require talent. They mostly require a method, a tablet, and the patience to be bad at it for a while. Pick one solid course, do the studies, finish the project, and keep the early work. A year from now you will be glad you started today.