




There is a particular silence that falls when you sit down with a mirror, a stick of graphite, and your own face. No reference photo to blame. No filter. Just you, looking at you, trying to be honest on paper. It is uncomfortable for about ten minutes. Then it becomes the most absorbing thing you have done in weeks.
The self-portrait is the oldest assignment in art for a reason. The model is always available, never charges, and never cancels. But more than convenience, drawing yourself from life teaches the two things every representational artist needs: how light describes form and how to actually see instead of drawing the symbols your brain substitutes for reality.
Working in graphite and pastel is an ideal way in. Graphite gives you precision and delicate gradation; pastel gives you rich darks and velvety light. Together they cover the full range from the faintest highlight to the deepest shadow. This guide walks through what a self-portrait course should teach, the materials you need, and how to practice without getting discouraged.
Why self-portrait, why these materials
Drawing from a mirror is fundamentally different from drawing from a photo. A photo has already flattened the world into two dimensions and made a thousand decisions for you. A mirror forces you to translate three dimensions into two, which is the actual skill of drawing. It is harder, and it teaches faster.
Graphite and pastel complement each other beautifully. Graphite excels at fine detail, crisp edges, and smooth light grays; soft pastel delivers deep, rich darks and luminous lights that graphite physically cannot reach. Used together on toned paper, they give you a full value range, the complete scale from white to black, which is what makes a drawing feel three-dimensional and alive.
If the idea of starting a creative skill as an adult feels daunting, you are in good company. This beginner’s field guide to starting a creative skill later in life addresses exactly that hesitation.
What a good course should teach you
Self-portrait courses vary in style, from classical atelier methods to looser contemporary approaches, but the strong ones share a backbone:
- Setting up. Mirror position, lighting (a single light source is non-negotiable for learning form), easel or board angle, and how to sit so you can see both the mirror and the paper without doing yoga. Bad setup guarantees bad results before you make a mark.
- Block-in: the architecture phase. Capturing the big shapes and proportions with straight lines before any detail. This is where likeness is actually built, not in the rendering. A good course spends serious time here and teaches you to measure: comparing angles, checking proportions against each other, finding the big gesture of the head.
- Toning the paper. Laying a mid-tone ground so you can work both darker (pastel, dark graphite) and lighter (erasing, white pastel) from the middle. This single technique changes everything about how a drawing develops.
- Light logic: form, value, and edges. How light wraps around the planes of the face, the difference between form shadows and cast shadows, core shadows, reflected light, and why edges should be sharp in some places and lost in others. This is the intellectual heart of the craft.
- Building darks with pastel, lights with graphite. The material-specific techniques: layering pastel for deep velvety darks without muddiness, rendering refined light gradients with graphite, and blending (or deliberately not blending) for different skin effects.
- Refinement and finish. Knowing when to stop, how to unify the drawing, and how to push the focal areas, usually the eyes, without overworking everything else.
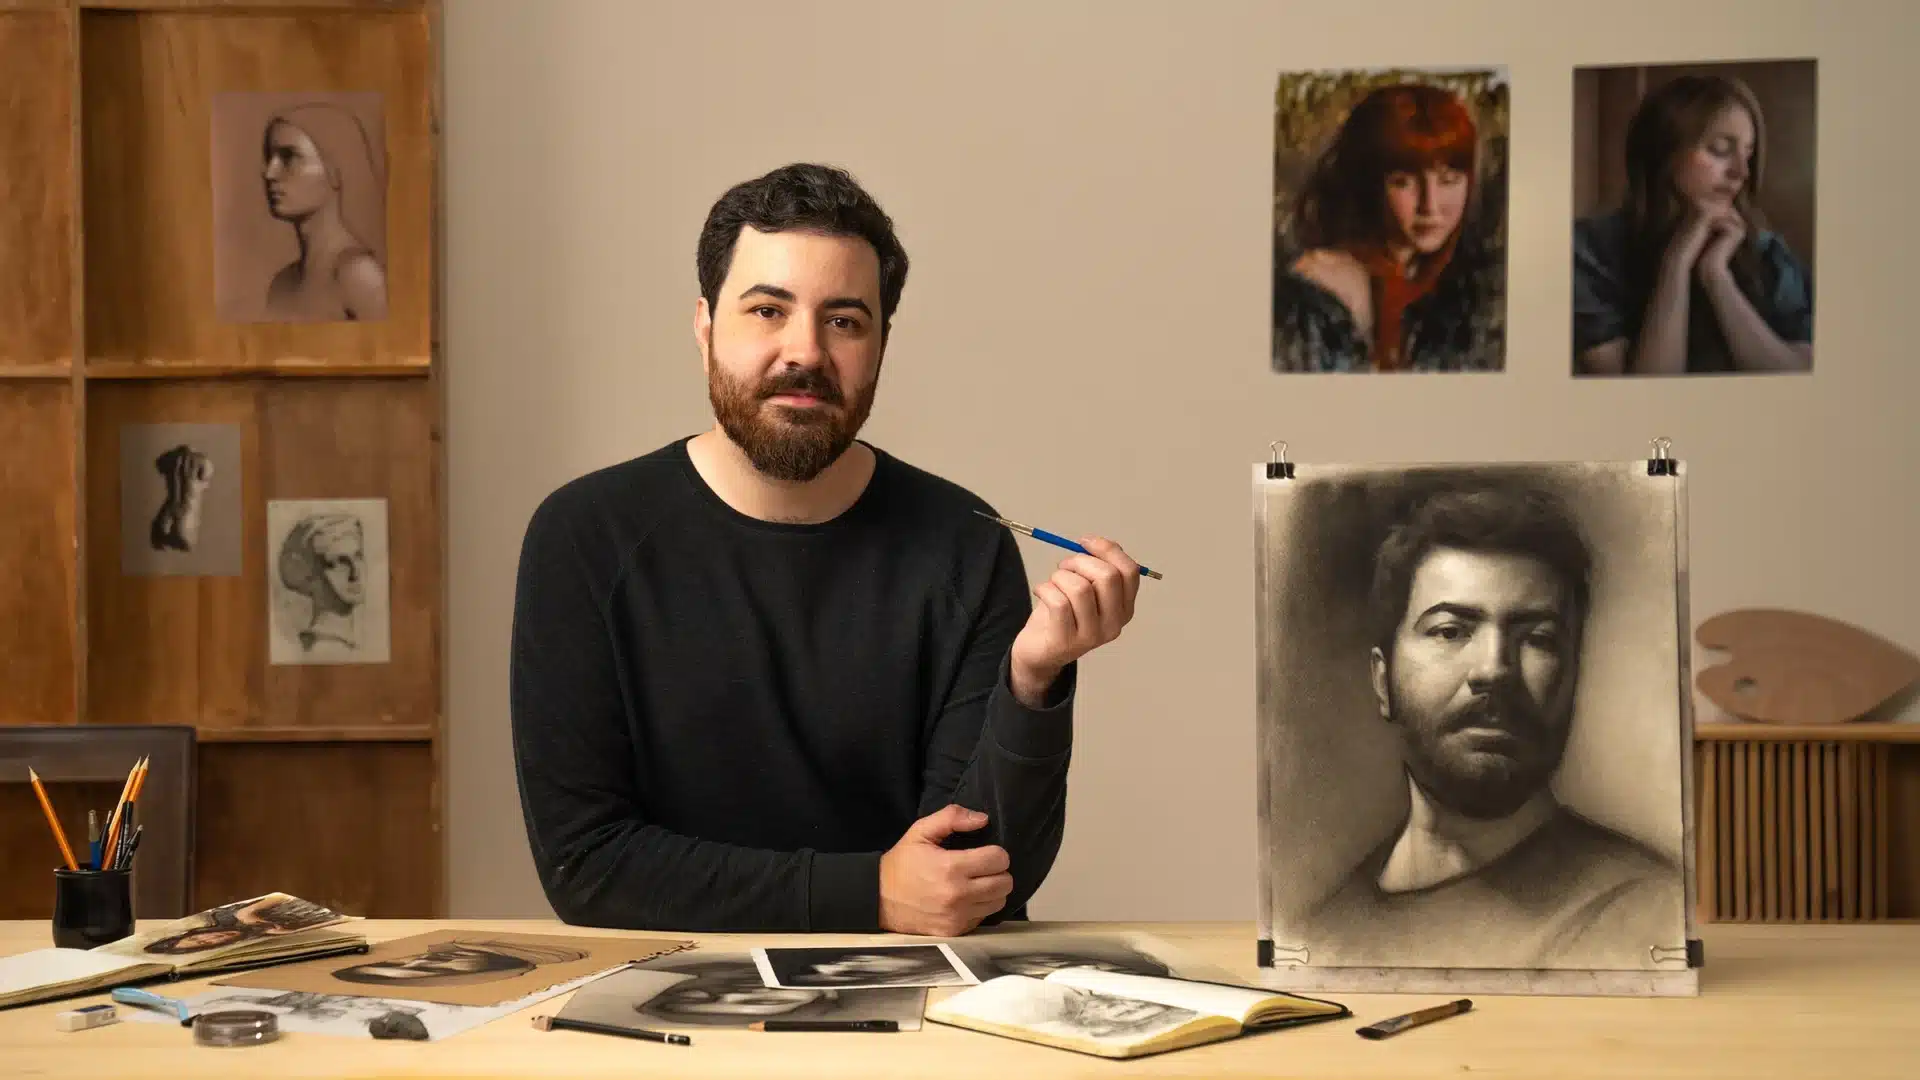
- A finished self-portrait. A complete drawing, typically head-and-shoulders, taken from block-in to final polish. This is your proof of concept and your first portfolio piece.
Materials: what you actually need
Drawing has the lowest material cost of any visual art. For graphite and pastel self-portraiture:
- Graphite: a range of pencils (HB through 6B covers everything), or graphite sticks for broader work. A kneaded eraser (for lifting light) and a plastic eraser (for real erasing).
- Pastel: a small set of soft pastels, you need far fewer colors than you think for portraiture; a range of grays, a warm and cool dark, and white will take you surprisingly far.
- Paper: toned paper (gray or tan) with some tooth, in a size that lets you work at least 11×14 inches. Working small is a false economy; you need room for your whole arm to move.
- A mirror. Bigger than you think. A small makeup mirror forces you to work from a tiny image and introduces distortion. Get the largest flat mirror you can mount at eye level.
- A single lamp. A simple directional light you can position to one side of your face. This is not optional equipment; strong single-source lighting is what makes form readable.
How to choose the right course
- Match the philosophy to your temperament. Classical atelier-style courses are methodical and demanding; contemporary courses are often looser and faster. Neither is better, but one will suit you. Preview lessons reveal the teaching personality quickly.
- Look for the boring fundamentals. Courses that emphasize block-in, measuring, and value studies are teaching you to draw. Courses that jump to rendering eyes in lesson two are teaching you to copy.
- Check that it is really from life. Some “self-portrait” courses are actually photo-copying courses. Working from the mirror is harder and teaches more; make sure the course you pick actually uses it.
- Instructor demos should be complete. Watch for full start-to-finish demonstrations, not just polished time-lapses. You need to see the ugly middle stages and how the instructor fixes mistakes, because your middle stages will be ugly too.
A practice routine that builds real skill
- Short sessions, high frequency. Drawing is perceptual training, and perception is trained by repetition. Thirty to forty-five minutes most days beats a monthly marathon. Your eyes learn the way muscles do: through regular use.
- Separate studies from the “real” drawing. Do quick value studies, feature studies (an eye, a nose, a mouth from the mirror), and edge studies as exercises. Keep your main self-portrait as the long project where the studies pay off.
- Draw the same view repeatedly. Doing three self-portraits from the same angle over a month is not repetitive; it is the fastest way to see what is actually improving versus what was luck.
- Photograph your setup. When a session goes well, photograph the mirror position and lamp angle so you can recreate it. Consistency of setup removes variables and lets you focus on the drawing.
Drawing progress follows the classic learning curve: long plateaus punctuated by sudden jumps. Understanding how memory and practice actually work helps you trust the process during the flat stretches.
Mistakes that cost beginners months
- Starting with details. The eyes are the most tempting and most dangerous place to begin. If the overall proportions are off, perfect eyes on a wrong head just look worse. Big shapes first, always.
- Drawing what you know instead of what you see. Your brain has a symbol for “eye” and it will try to draw the symbol. The whole discipline of observational drawing is overriding that impulse and drawing the actual shapes of light and shadow in front of you.
- Working from a photo “for now.” Photos are fine as a supplement, but if your course is about working from life, work from life. The difficulty is the lesson.
- Blending everything smooth. Beginners over-blend because smooth looks “finished.” But form is described by the transitions between values, and crisp edges next to soft ones are what make a drawing feel alive. Put the blending stump down sometimes.
- Quitting at the ugly stage. Every drawing goes through a phase where it looks wrong and broken, usually about 60 percent in. This is normal. It is not a signal to start over; it is a signal to keep going.
- Bad lighting. Overhead room light flattens the face into mush. One directional lamp to the side creates the form shadows you are trying to learn. Fix the light before you blame your hand.
Frequently asked questions
I can’t draw at all. Is this too advanced?
Self-portraiture from life is actually one of the best ways to learn to draw, because the feedback loop is immediate: you can compare your drawing to the mirror at any moment. Complete beginners do well as long as the course starts with block-in and measuring rather than assuming those skills.
Graphite or pastel: which should I focus on?
Learn both together, as the course intends. Graphite teaches control and subtlety; pastel teaches bold value range and painterly thinking. The combination is the point, each covers what the other cannot do.
How do I get a likeness? My drawings never look like me.
Likeness comes from accurate big shapes and correct value relationships, not from detailed features. If it does not look like you, the problem is almost always in the block-in proportions or the overall light-and-shadow pattern, not the eyes. Fix big, then fix small.
How long does a self-portrait take?
A finished 11×14 portrait typically takes a beginner 15-30 hours of work spread over weeks. That sounds like a lot until you realize those hours are the education. Speed comes later; accuracy comes now.
Sit down with the mirror. Set the lamp to one side. Draw the big shapes badly, then draw them better. The self-portrait has been teaching artists to see for five hundred years. It will teach you too.