




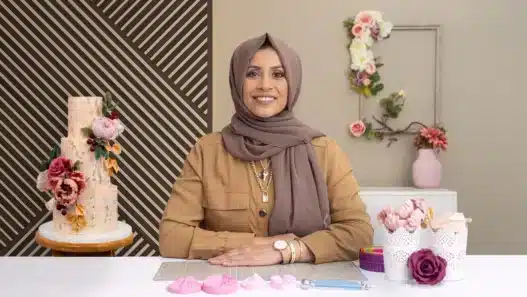
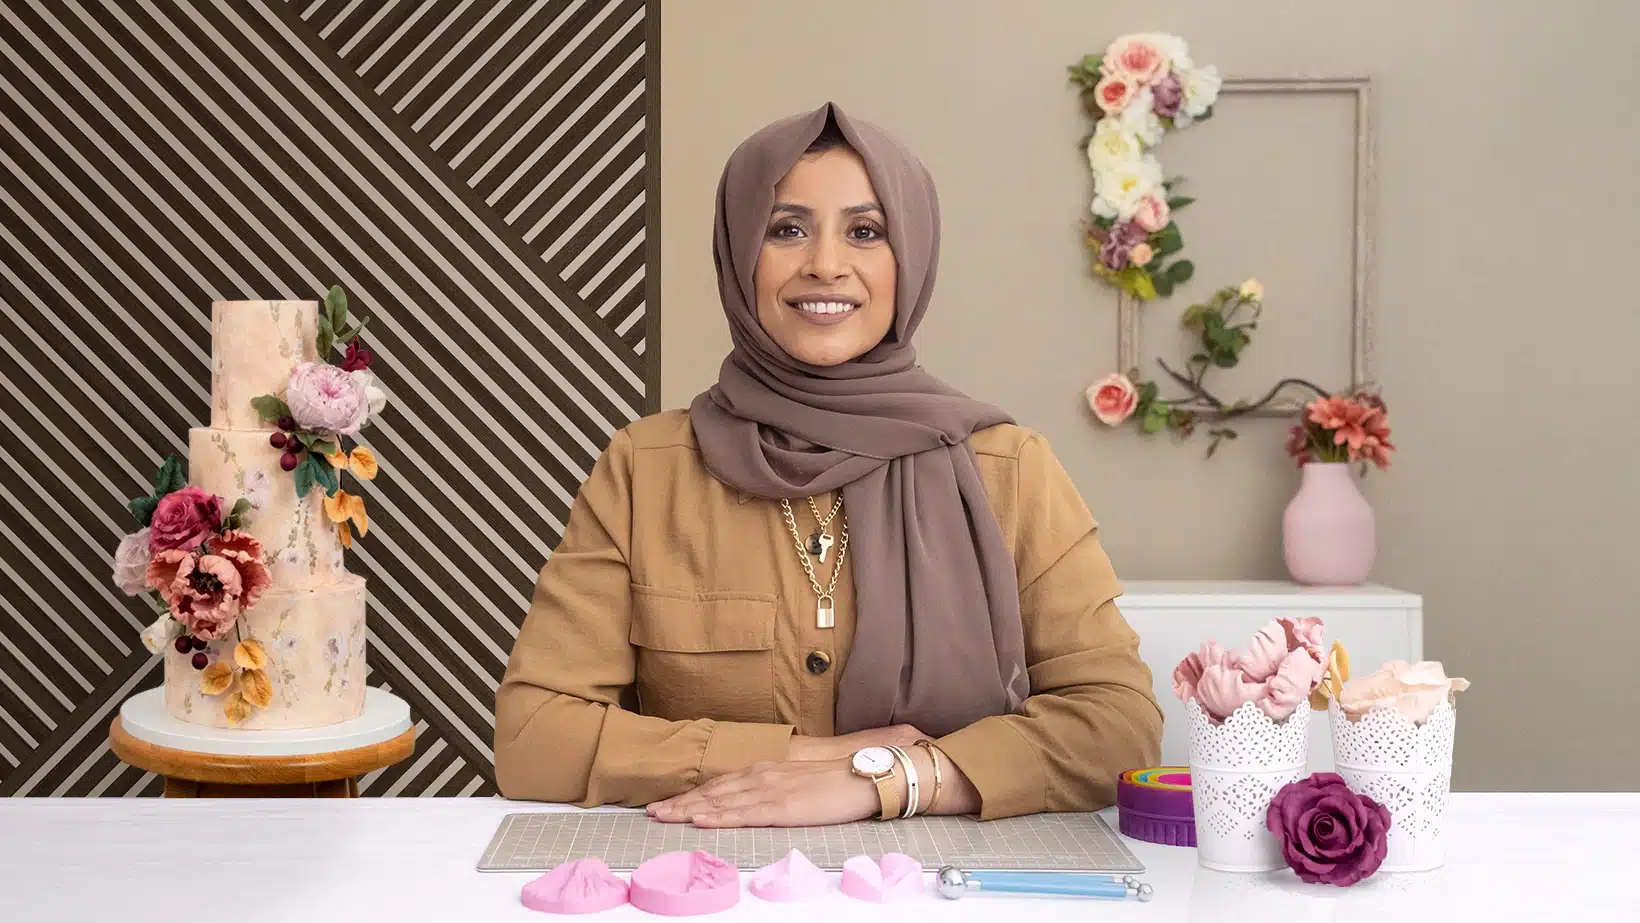
Picture the moment a wedding cake is revealed: the room goes quiet, phones come out, and sitting on top are roses so realistic that someone always asks whether they are real. They are not real. They are sugar. And someone made them by hand, petal by petal, probably while listening to a podcast.
Sugar flowers, flowers sculpted from gum paste or flower paste, are the showpiece skill of cake design. They do not wilt, they do not bruise in transit, and they photograph beautifully. For bakers, they are also a genuine business advantage: cakes with handmade sugar flowers command higher prices than cakes with fresh flowers or plastic toppers.
This guide explains what sugar flower work involves, what a good online course should cover, the tools and ingredients you need, and how to go from your first lopsided rose to arrangements you would put on a wedding cake.
What sugar flowers actually are
Sugar flowers are made from an edible dough, usually gum paste (also called flower paste), that rolls paper-thin, holds fine veining detail, and dries firm enough to keep its shape for months. Unlike fondant, which stays soft, gum paste sets hard, which is what lets you build open, gravity-defying blooms.
The craft is part sculpture, part botany. You learn to observe real flowers, how petals overlap, how a rose spirals, how leaves attach to stems, and then recreate that structure in sugar. The best sugar artists study actual flowers constantly; the paste is just the medium. If you already bake, this skill stacks on top of what you know. If you do not, you will want basic cake skills (baking, covering with fondant) either first or alongside.
What a good course should teach you
Sugar flower courses live or die on close-up demonstration. You are watching someone’s hands shape millimeter-thin petals, so camera work and pacing matter enormously. The syllabus should include:
- Paste handling fundamentals. Conditioning gum paste, rolling it thin without tearing, keeping it from drying out while you work (the eternal battle), and coloring it with gel and dust colors.
- Core flowers, in order of difficulty. Blossoms and simple five-petal flowers first, then roses, then peonies, then complex blooms like orchids or lilies. A course that starts with peonies is showing off, not teaching.
- Wiring and taping. Real sugar flowers are built on wires: petals are wired individually, then taped together into sprays. This is fiddly, essential, and impossible to learn well from photos alone. Video is the whole point.
- Veining and texturing. Silicone veiners and simple hand techniques that turn a flat petal into something with botanical structure.
- Dusting and color realism. Petal dusts applied with brushes to create gradients, depth, and those translucent edges real petals have. This is where flowers go from “nice” to “wait, that’s sugar?”
- Leaves, filler flowers, and berries. Arrangements need supporting cast. Leaves and small filler blooms are quicker to learn and make your main flowers look twice as good.
- Arranging and attaching. Building a balanced spray or cascade, and securing it to a cake so it survives transport. A gorgeous flower that falls off in the car is a failure, not a success.
- Storage and timing. Sugar flowers keep for months in dry conditions, which means you can make them weeks ahead of an event. A good course teaches you the production timeline professionals use.
Tools and ingredients: the real list
The toolkit looks intimidating in course supply lists, but you can start lean:
- The essentials: gum paste, a small rolling pin (or a dedicated paste roller), ball tools for thinning petal edges, a foam pad, petal cutters for the flowers you are learning, wires in a few gauges, floral tape, and petal dusts with soft brushes.
- Nice to have early: a silicone veiner or two, an edible glue (or just water with a brush), and a drying setup, foam blocks or a simple stand where wired petals can dry in shape.
- Buy per project, not per dream. Do not buy cutters for twelve flowers. Buy the cutters for the rose, master the rose, then buy the peony cutters. Your wallet and your drawer space will thank you.
Ingredients are all food-safe and widely available from cake supply shops: gum paste (or the components to make it), gel colors, petal dusts, and edible glue. Nothing exotic, nothing you cannot reorder in a pinch.
How to choose the right course
- Watch hands, not faces. Preview lessons should be tight close-ups of the work. If the camera stays wide, you will not see what matters.
- Check the flower progression. Simple to complex, with each flower building on previous techniques. That structure means the instructor has actually thought about teaching, not just performing.
- Look for the “where to get it” unit. Serious courses include a materials walkthrough: what to buy, what to skip, where to source it. Vague supply lists are a red flag.
- Student work tells the truth. Look at what beginners produced, not the instructor’s gallery pieces. If students’ roses look decent, the teaching works.
- Consider your cake goals. Wedding work? Learn roses, peonies, and arrangement. Celebration cakes? Blossoms and novelty flowers may matter more. Match the syllabus to the cakes you actually want to make.
If you are weighing free tutorials against a structured course, this comparison of free versus paid courses lays out when paying actually makes sense.
Practice tips from people who do this for a living
- Make one flower at a time, in batches. Do not make a single rose start to finish. Make ten centers, then ten sets of outer petals, then assemble. Batching builds speed and consistency, and it is how professionals work to deadlines.
- Keep a “flower morgue.” Save your early attempts instead of binning them. In three months, line them up: the improvement is dramatic, and on bad days it is the best motivation you own.
- Work with real flowers beside you. A five-dollar grocery store rose teaches more about petal structure than any diagram. Dissect one. Count the petals. Notice how they attach.
- Control your environment. Gum paste dries fast in air conditioning and goes sticky in humidity. Learn your kitchen’s behavior: work in small batches, keep unused paste wrapped airtight, and do not fight the weather, plan around it.
- Photograph everything. Sugar flowers are portfolio pieces by nature. Good photos of your work are how you get the wedding clients later; start the habit on day one. If events interest you, this wedding planning guide shows how the events world thinks, which helps you speak clients’ language.
Mistakes beginners make
- Rolling paste too thick. The number one beginner error. Real petals are nearly translucent; your paste should be too. If your flowers look clunky, roll thinner before you change anything else.
- Skipping the drying time. Assembling before petals are dry enough leads to drooping, fingerprints, and heartbreak. Patience is a technique.
- Over-dusting. Petal dust builds realism in whisper-thin layers. Beginners tend to apply it like paint. Less, then look, then a touch more.
- Making flowers with no plan for the cake. Learn arrangement early, not as an afterthought. A dozen beautiful loose flowers and no idea how to compose them is a common stall point.
- Comparing to fresh flowers. Sugar flowers have their own aesthetic, slightly stylized, permanent, hyper-detailed. They are not failed imitations of real blooms; they are their own art form.
Frequently asked questions
Do I need to know how to bake first?
Not to learn sugar flowers themselves, they are a standalone craft. But to put them on cakes professionally, you need basic cake skills: baking, leveling, and covering with fondant or buttercream. Many people learn both in parallel.
Are sugar flowers actually edible?
Technically yes, they are made from food-safe ingredients, but they dry rock-hard and contain wires, so they are decorative, not dessert. Everyone removes them before serving. Think of them as edible sculpture.
How far in advance can I make them?
Months. Stored dry and dust-free, gum paste flowers keep indefinitely. This is a huge practical advantage: you can build wedding flowers weeks ahead instead of in a last-minute panic.
Can this become a business?
Absolutely. Sugar flower specialists sell to bakeries, take wedding commissions, and teach. Handmade sugar flowers are labor-intensive, which is exactly why clients pay well for them. Start by documenting your work and learning how to choose training wisely so every course you take moves you toward paid work.
Sugar flowers reward patience more than talent. Roll thin, observe real blooms, batch your practice, and let the flowers accumulate. One day you will open a box of roses you made and have to remind yourself they came out of your kitchen.