







Walk into a room that feels right — the light is warm, the colors sit comfortably together, there’s somewhere good to sit and something interesting to look at — and you can feel it in your shoulders. Now walk into a room that feels off, and you feel that too, even if you can’t say why. Interior decorating is the skill of knowing why, and knowing how to fix it.
The best part? It’s one of the most learnable creative skills there is. You don’t need an art degree or a big budget. You need principles, practice, and a willingness to move your sofa three times. This guide walks you through decorating room by room — the principles first, then each space — and shows you what to look for in a beginner decorating course.
The principles: what every course should teach first
Before you buy a single cushion, learn the five principles that underpin every good room. Any decorating course worth your money teaches these in the first modules:
1. Balance
Visual weight should be distributed, not necessarily symmetrical. A large sofa on one side can be balanced by two smaller chairs and a floor lamp on the other. Beginners tend to push all furniture against walls — courses teach you to float pieces and create conversation areas instead.
2. Scale and proportion
The number one beginner mistake is wrong-sized everything: tiny rugs, art hung too high, lamps too small for side tables. The classic rules — rugs large enough that front furniture legs sit on them, art at eye level (center ~145cm from the floor), curtains hung high and wide — exist because they work.
3. Rhythm and repetition
Repeating a color, material, or shape 3+ times around a room creates cohesion. Three black accents, two rattan pieces, one wood tone carried through — repetition is what makes a room feel “designed” rather than “accumulated.”
4. Focal point
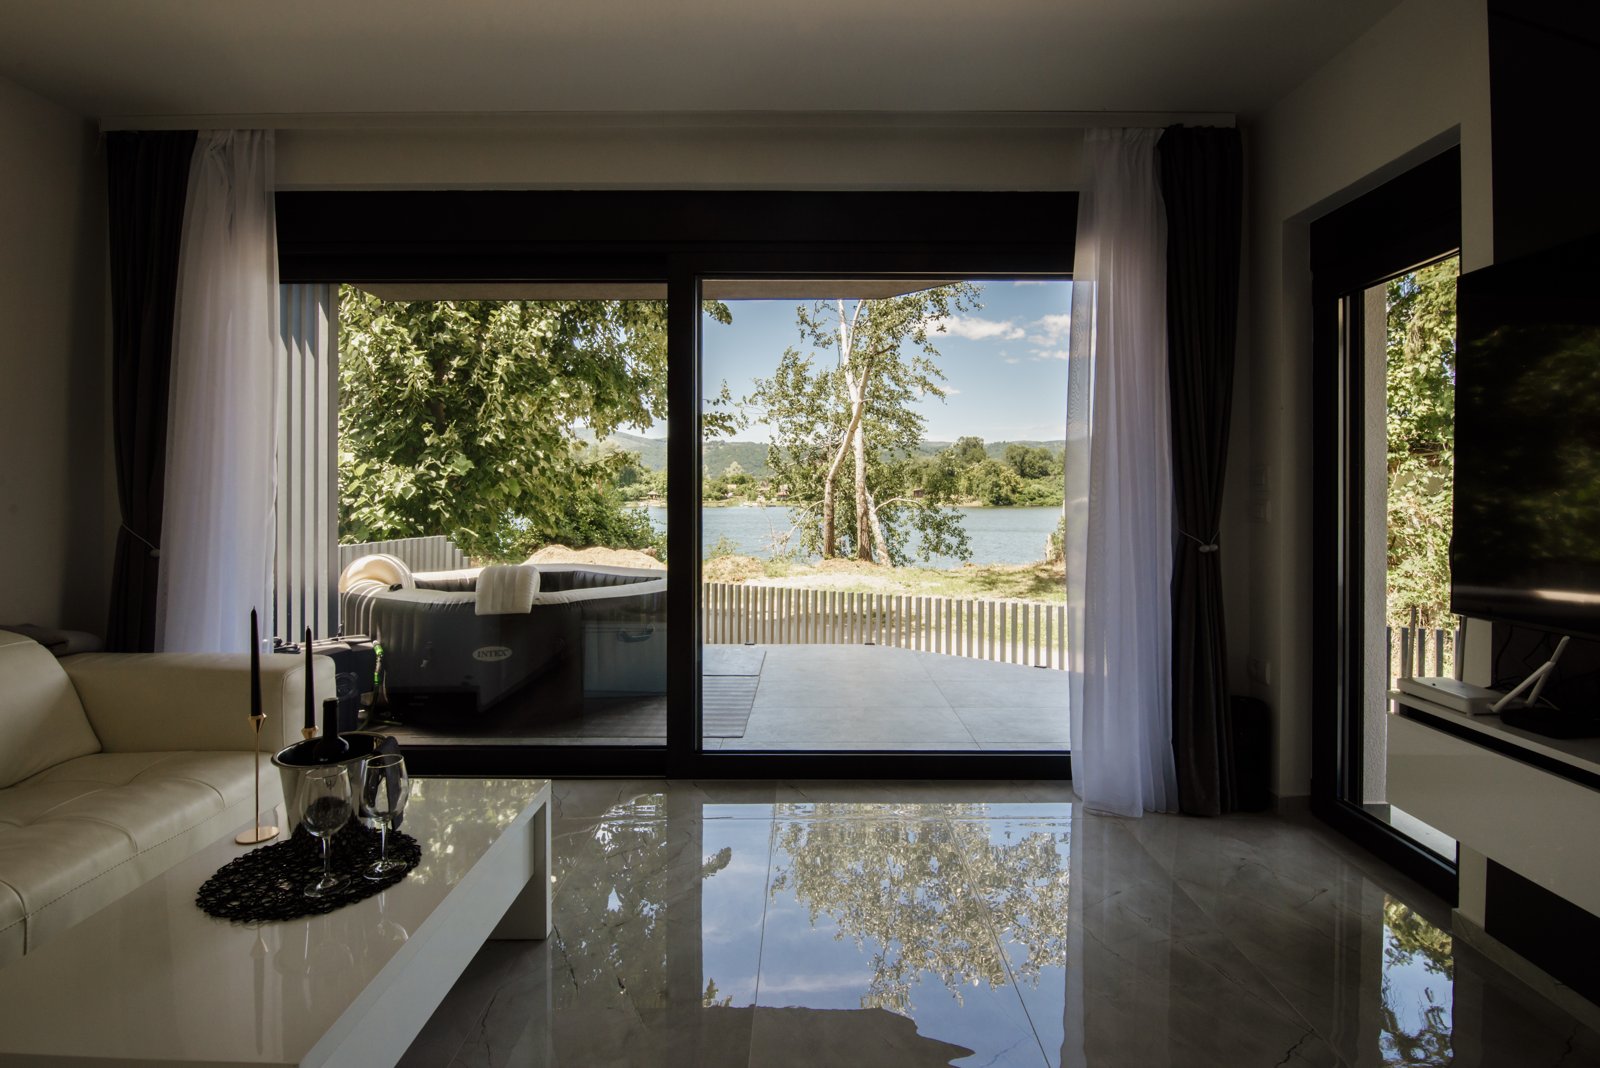
Every room needs one thing the eye lands on first: a fireplace, a bold art piece, a beautiful window. Everything else supports it. Rooms feel chaotic when five things compete for attention.
5. Harmony (and when to break it)
Harmony is colors, styles, and textures that get along. But the most interesting rooms break one rule deliberately — a modern chair in a traditional room, one unexpected color. Courses teach you to break rules on purpose, which is the difference between eclectic and messy.
Color: the fastest skill to learn
Color theory sounds academic, but for decorating you need about 20% of it:
- The 60-30-10 rule: 60% dominant color (walls, big furniture), 30% secondary (curtains, rugs), 10% accent (cushions, art, objects). This ratio alone fixes most color chaos.
- Warm vs. cool undertones: the reason your “white” walls look yellow next to your gray sofa. Learn to see undertones and half your color problems disappear.
- One neutral anchor: every room needs a restful neutral so the eye has somewhere to land.
A good exercise from beginner courses: photograph your room, then use a free app to sample the actual colors in it. You’ll be shocked how many competing undertones are fighting in one space. If you want a structured way to train your eye, starting a creative skill as an adult has advice that applies perfectly to design — your eye improves with deliberate practice, not talent.
Lighting: the most underrated decorating tool
Beginners decorate for daylight and live in lamplight. A room needs three layers:
- Ambient — general light (ceiling fixtures, overall glow)
- Task — focused light where you do things (reading lamp, kitchen pendants)
- Accent — light that shows things off (picture lights, candles, a lamp in a dark corner)
The cheapest transformation in decorating is almost always lighting: warm bulbs (2700K), lamps at different heights, and never relying on a single overhead light. Courses that include a lighting module are worth prioritizing — it’s the skill with the highest impact per dollar spent.
Room by room: your learning journey
The living room — start here
The living room is the best classroom because it contains every decorating challenge: seating arrangement, focal point, lighting layers, textiles, and styling surfaces. Practice here and every other room gets easier.
Your first project: rearrange your living room using only what you own. Try three layouts in one weekend — conversation pit facing each other, angled toward a focal point, zoned into two areas. Photograph each. You’ll learn more about balance and flow in those six hours than in six hours of video. Then add one new textile (a rug or curtains at the right scale) and notice the difference.
The bedroom — learn restraint
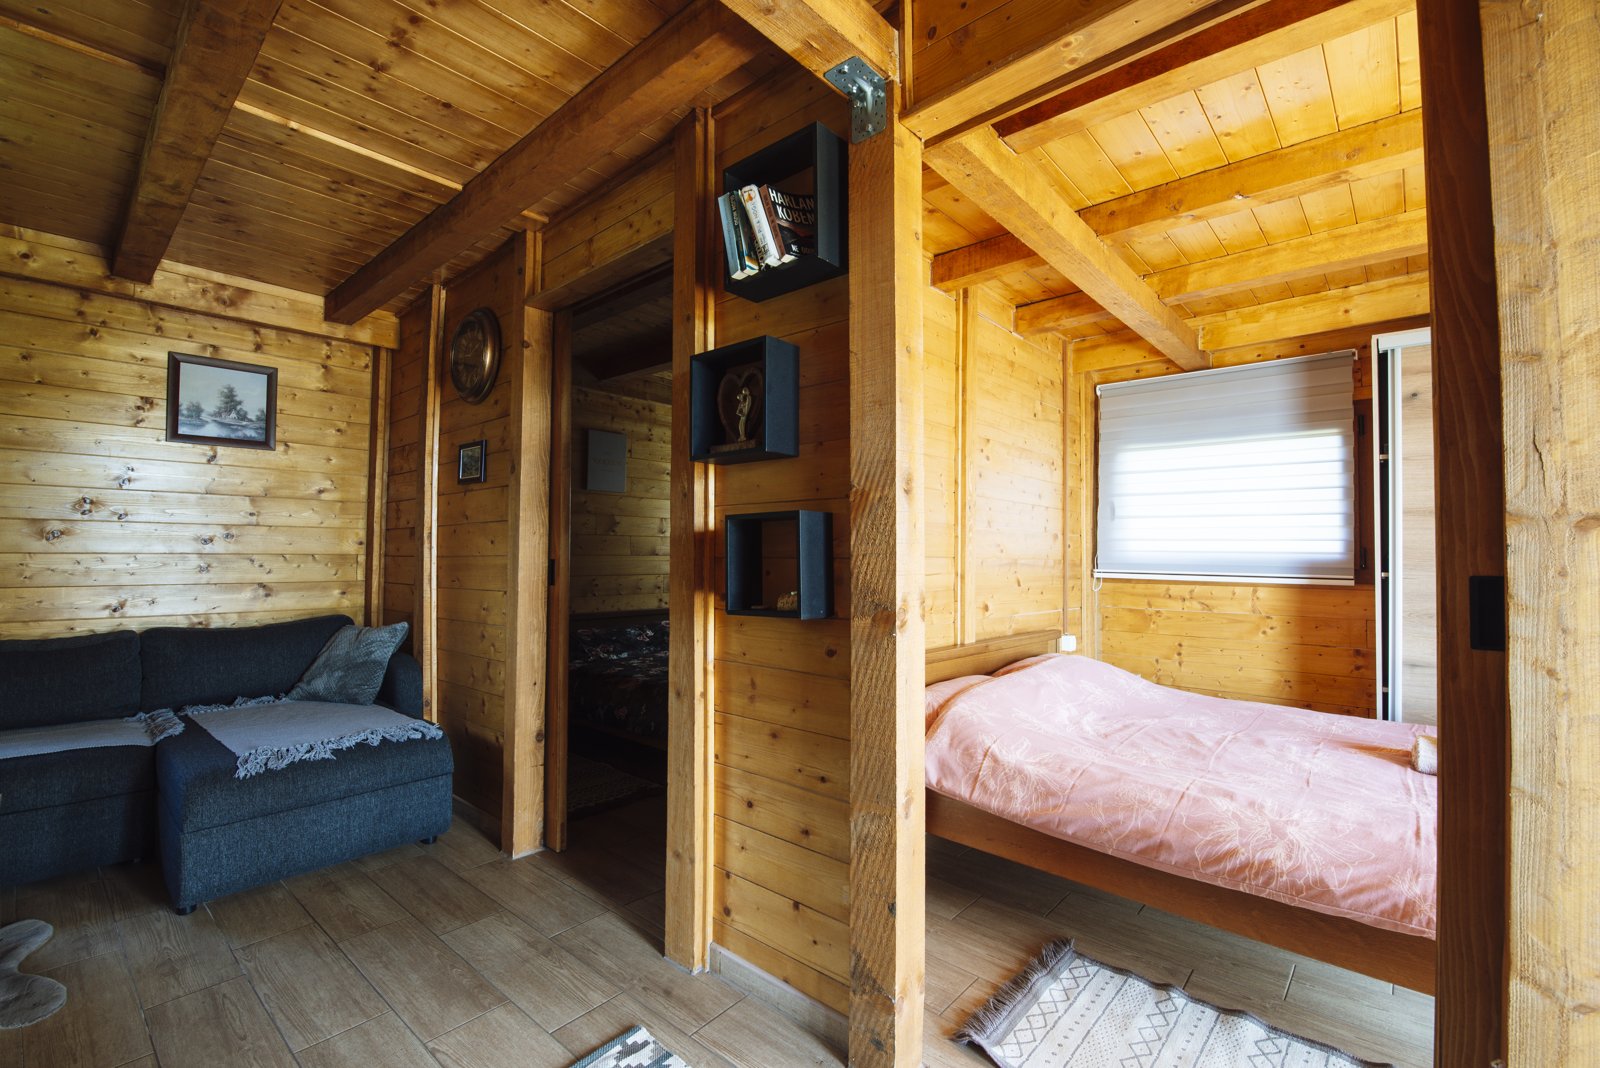
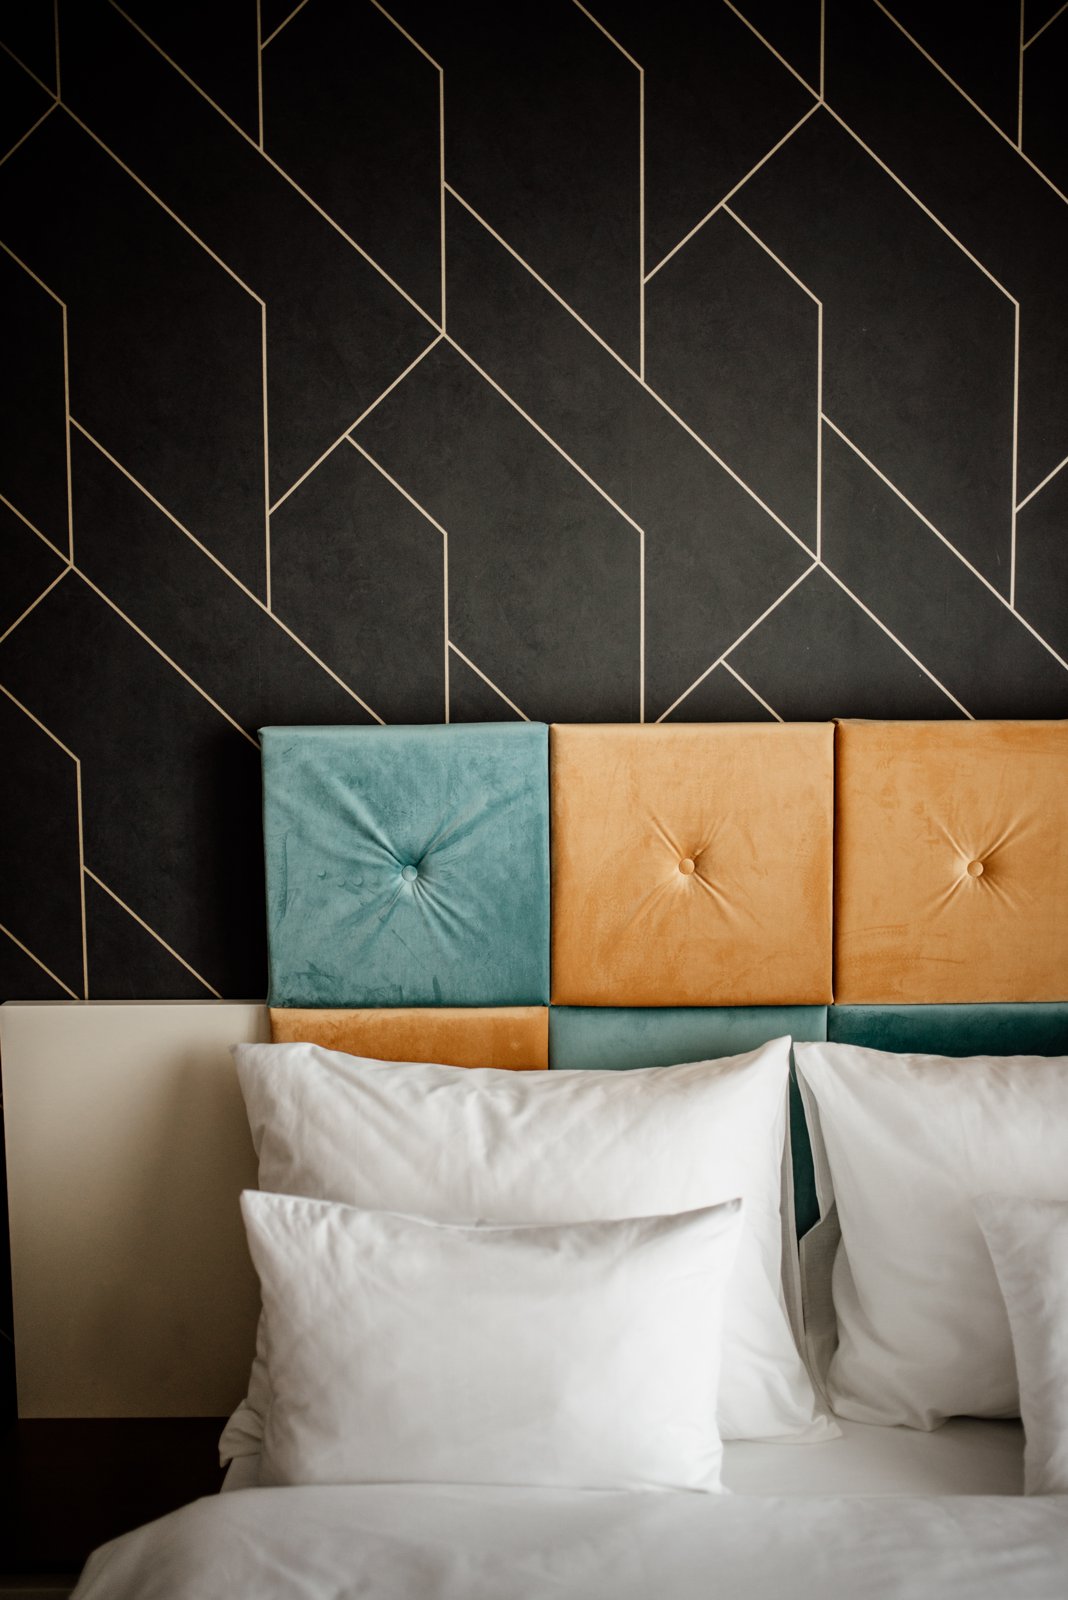
Bedrooms teach the hardest decorating lesson: less is more. A restful bedroom is mostly about what you remove. The learning goals here are bedding layers (the hotel-bed look is just layers: sheets, duvet, two sleeping pillows, two shams, one throw), bedside symmetry, and calm color.
Your project: style your bed properly once, photograph it, then try to recreate the feeling with a different color palette using a mood board first. Mood boards — digital or physical — are a core course skill: they let you test combinations before spending money. Learning from free tutorials works well for bedroom styling specifically, since it’s so visual.
The kitchen and dining — function first
Kitchens teach you that decorating must serve real life. The principles here are workflow (the classic work triangle), easy-clean materials, and warmth added through open shelving styling, a runner rug, pendant lights, and one living thing (herbs count). Dining areas are about the table as gathering place: proper lighting above it (pendant ~75cm above the table), comfortable chairs, and a centerpiece that doesn’t block conversation.
The bathroom — small space, big impact
Bathrooms are where beginners learn that styling beats renovating. New mirror, matching dispensers, real towels (not the decorative ones nobody touches), a plant that likes humidity, and good lighting around the mirror. A $100 styling refresh can make a rental bathroom feel designed. Courses aimed at renters are gold here.
Decorating on a budget: the real curriculum
Let’s be honest: most beginners aren’t decorating with unlimited funds. The budget skills matter more than the luxury ones:
- Shop your home first. Move art, lamps, and objects between rooms before buying anything. New context makes old things feel new.
- Paint is the highest-ROI decorating purchase. One accent wall or a painted piece of furniture transforms a room for the price of a takeaway dinner.
- Secondhand + DIY. Thrifted solid-wood furniture beats new flat-pack every time — and refinishing a piece teaches you about materials.
- The “one in, one out” rule. Every new object means removing one. This single habit prevents clutter creep.
- Prioritize in order: lighting → textiles (rug, curtains) → art at the right scale → styling objects. In that order, always.
Before investing in a paid course, it’s worth asking whether you even need one yet — our guide to free vs. paid courses helps you decide when free content is enough and when structured learning pays off.
What to look for in a decorating course
| Green flag 🟢 | Red flag 🔴 |
|---|---|
| Teaches principles with real-room before/afters | Only shows perfect, professionally-styled homes |
| Includes budget and renter-friendly modules | Every project assumes a renovation budget |
| Assignments: mood boards, room plans, styling projects | No practice — just watch and admire |
| Instructor shows their own process, including mistakes | Instructor only presents finished perfection |
| Covers lighting, color, and scale as core modules | Jumps straight to “shopping lists” and trends |
| Updated for current styles (not 2015 farmhouse everything) | Teaches one rigid style as “correct” |
Platform-wise, Domestika and Skillshare both carry strong interior styling courses, and many are project-based: you decorate a real room as you learn. Look for courses where the instructor’s own home (shown in the course) is a place you’d actually want to live — taste is the real curriculum. And if you’re choosing between options, how to choose your first online course walks through the decision step by step.
Styling: the final 10% that makes it look designed
Once furniture, color, and lighting are right, styling is what makes a room feel finished. The core techniques:
- The rule of three: group objects in odd numbers, varying heights (tall, medium, small).
- Trays and books: corralling small objects on a tray instantly makes them look intentional.
- Negative space: not every surface needs something. Empty space is a design choice.
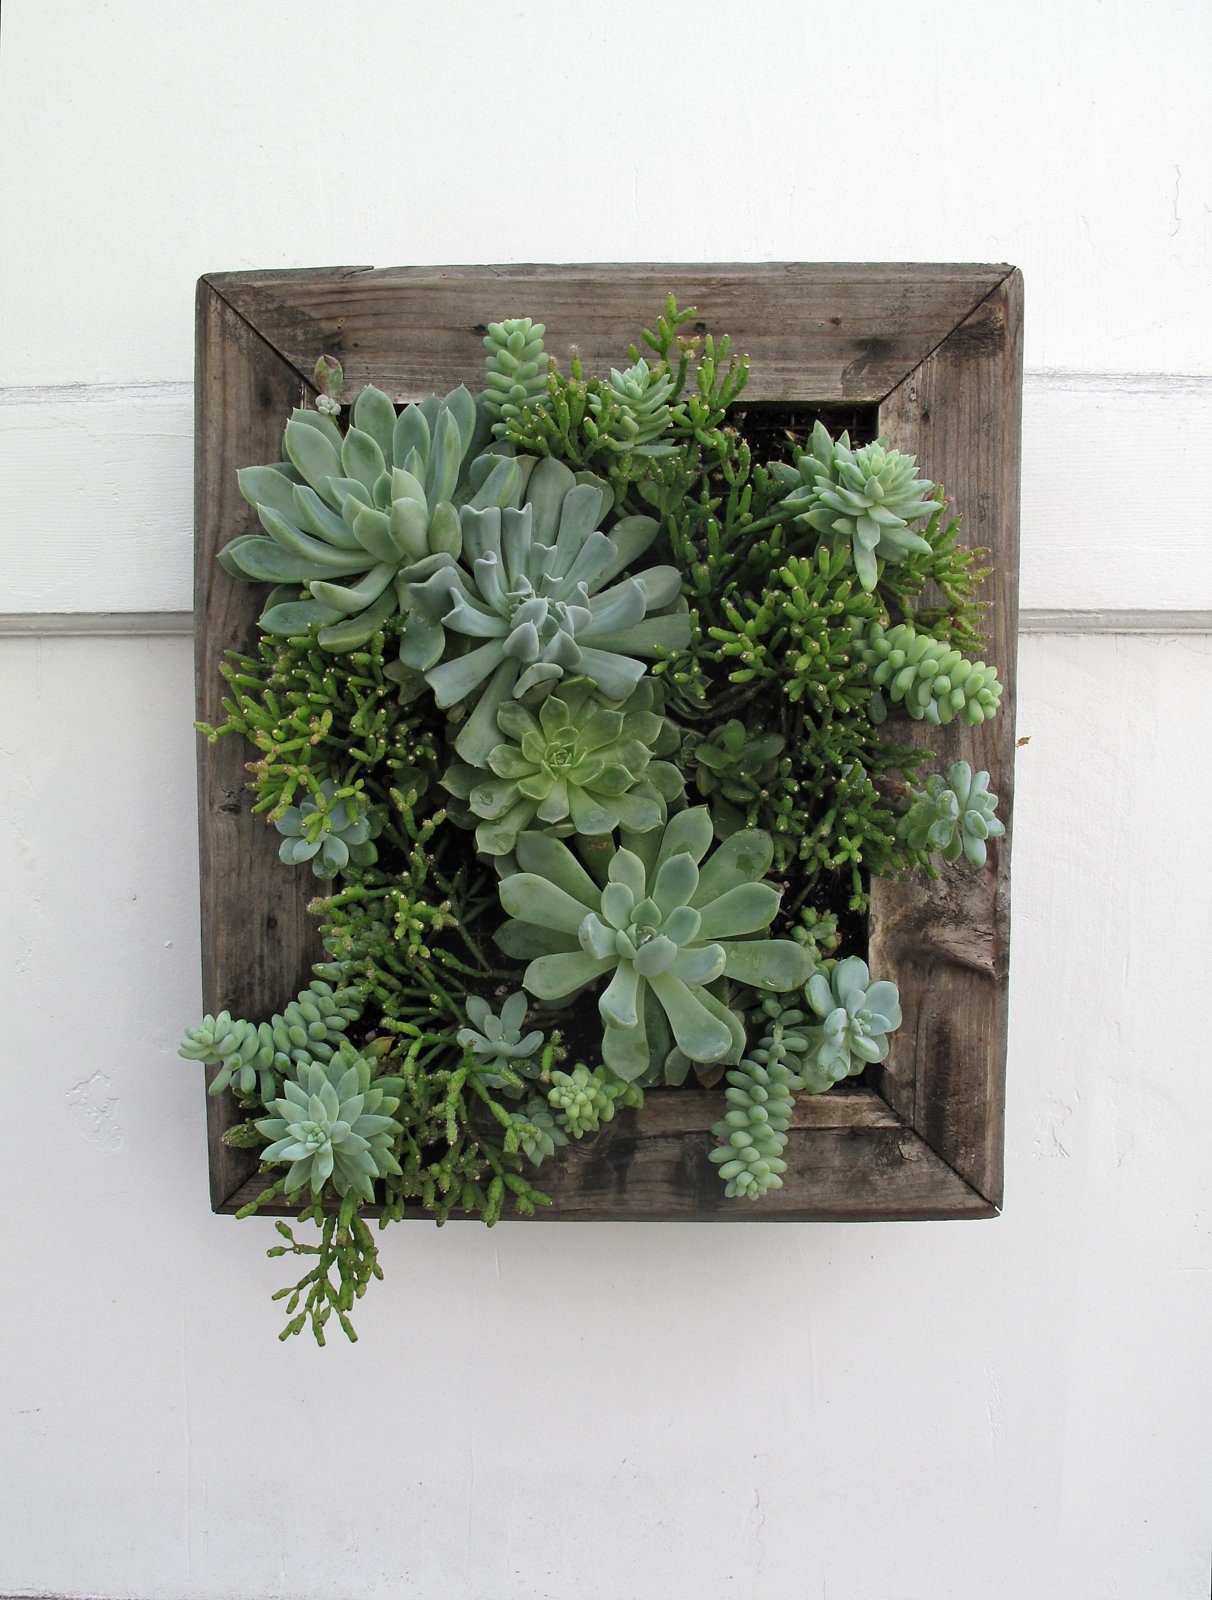
- Something living: plants, fresh flowers, even a bowl of fruit — life makes rooms feel alive. (Candles count too — and if you fall in love with them, our guide to candle-making courses shows how to make your own.)
- Texture mix: every room needs at least three textures (wood, textile, metal / glass, plant, stone). Texture is what makes neutral rooms interesting.
Your room-by-room learning plan 🗺️
- Weeks 1–2: Learn the five principles + color basics. Mood-board your living room.
- Weeks 3–4: Rearrange the living room three ways. Fix lighting (warm bulbs, three layers).
- Weeks 5–6: Style the bedroom. Practice restraint — remove before adding.
- Weeks 7–8: Tackle kitchen/dining function + warmth. Style bathroom on a $100 budget.
- Ongoing: Photograph every room monthly. Comparing photos over time trains your eye faster than anything — you’ll start seeing scale, balance, and light the way musicians hear pitch.
Interior decorating rewards the observant. Start noticing rooms — in cafés, in friends’ homes, in films — and asking why they work. That habit, plus one good principles-first course and a willingness to move furniture around on a Saturday, will take you further than any shopping spree. Your home is the one creative project you live inside. Make it a good one. 🏡